Related Articles


Common scenario: You buy a new laptop, thinking you’ll sell, donate or hand down the old one… but it never happens. Maybe you don’t want to deal with the hassles of Craigslist or Ebay, not to mention wiping all your data, reinstalling Windows and so on.
Whatever the case, now it’s just taking up space. But it doesn’t have to: You can give that old laptop new life.
With Linux, right? Wrong! I mean, yes, you could install Linux, which has always been the go-to option, but not everybody needs or wants the complexity of that operating system. For some, Chromium might be the better choice.
Chromium is the OS that’s at the heart of Chromebooks — those fast-booting, cloud-powered devices that are so popular these days. Think about it: For whatever reason, no one buys Linux laptops. They buy Chromebooks.
If you like the idea of giving your old system a Chromebook-like lease on life, good news: It’s fast, free and easy. And it’s not even permanent unless you want it to be.
Let me pause here to note that Cub Linux, the OS at the core of this how-to, is no longer actively being developed. That means you won’t be able to get support directly (even the user-forum page has been taken down, though you may be able to find help on broader Linux forums), and there’s always the security risk that accompanies an OS that’s not being updated.
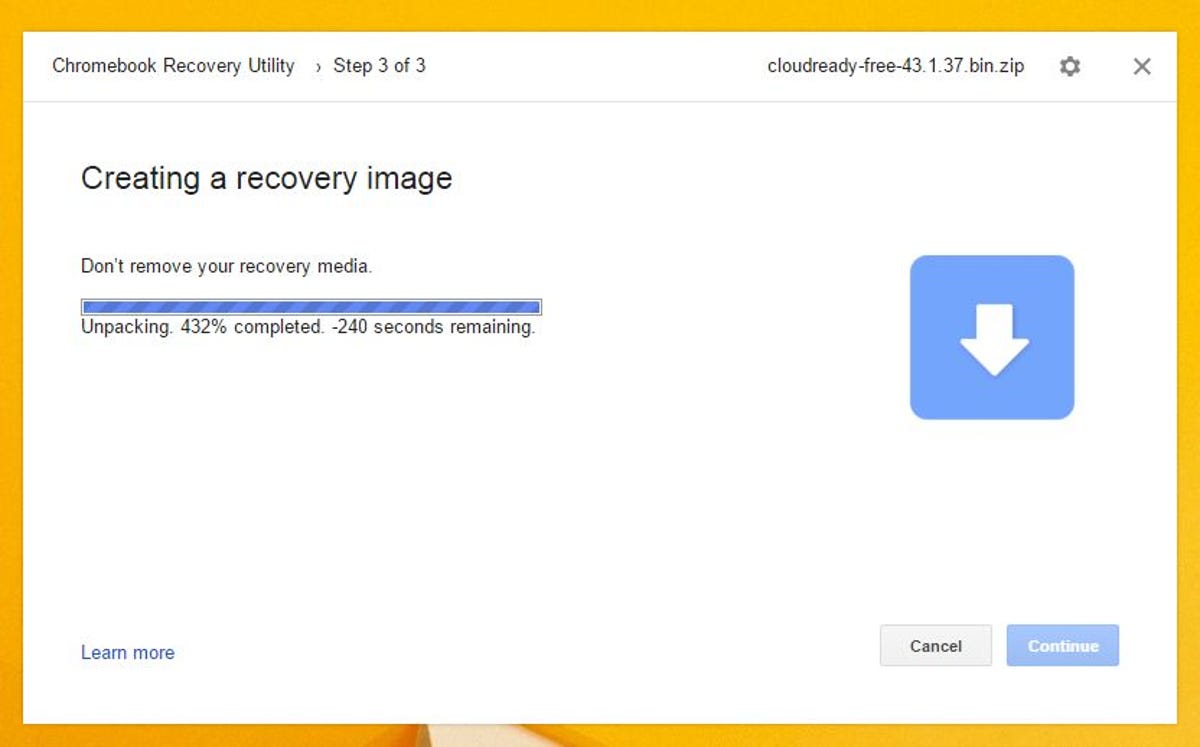
That said, Linux is inherently very secure already, and I had no trouble getting Cub Linux to work as advertised. Your mileage may vary, though, and if you’d rather install a version of Chromium that’s actively supported, check out my tutorial on Neveware’s CloudReady. It produces a similar result, just without the option to run Linux apps in addition to Chromium apps.
Gather your tools
To get started, you’re going to need the following:
- A flash drive you can wipe and devote to this project. It needs a minimum of 1GB of storage.
- Rufus, a free utility for creating bootable flash drives. Download the portable version. There’s no need to actually install it, you’ll just run it once.
- Cub Linux. Yep, it’s a Linux-based OS, one designed to duplicate the look and feel of Chromium. What you’re downloading is a single ISO file, which is what Rufus will add to your bootable drive.
Thanks to reader Mark Edwards for sharing these tools!
Create your bootable
Even if you’ve never done anything like this before, it’s refreshingly easy.
- Using your current PC, plug in your flash drive (ignoring or closing any prompts that pop up), then run the Rufus utility.
- In the Device field, at the very top, make sure your flash drive is the one selected. If not, click the pull-down and select it.
![rufus.jpg]()
 Enlarge Image
This Rufus is not a doofus.
Rick Broida/CNET
- Near the checkbox marked “Create a bootable image using,” click the little disk icon and navigate to the Cub Linux ISO file you downloaded. It’s most likely in your Downloads folder. Click it, then click Open.
- If you like, you can change the “New volume label” field to something like “Cub Linux,” but it’s not necessary.
- Click Start, then wait while the drive is formatted and the ISO installed. While that’s happening, you can get started on the next part.
Prep your old PC
Time to dig out your old laptop. It doesn’t matter what condition it’s in or even if it’s riddled with malware; you just need it to be able to boot from a flash drive.
That may mean venturing into the BIOS and changing the boot order, which by default almost certainly puts the hard drive first. Some laptops do offer a pop-up boot menu that lets you choose what device to boot from without having to monkey with the settings. If yours does, count yourself lucky.
 Enlarge Image
Your flash drive/USB drive/removable device should be made first in the boot-order menu.
For example, I tested all this with an HP Pavilion dm1z, one that’s been on my shelf for the past several years. When you first power it on, there’s no boot menu — just a blank screen and then the Windows startup screen. So I did a quick web search for “Pavilion dm1z boot menu” and learned that I need to press either F1 or F10 immediately after powering on the machine. (Turns out it was F10.)
That’s pretty common, though based on past experience, it might also be F2, F9, F12 or even the Delete key. Depends on the system.
Once you’ve found your way into the BIOS, find the boot or startup menu and make sure “flash drive” or “USB drive” is first in the boot order. Then save and exit (usually by pressing F10, but, again, this varies).
Boot!
Believe it or not, that’s about it. Plug the newly formatted flash drive into the old laptop, boot it, then wait for the menu to appear. You’ll have the option of running Cub Linux straight from the drive — which is definitely a smart choice so you can make sure everything works as expected and you actually like the OS — or installing it.
If you choose the latter option, you can install the OS alongside Windows (for a dual-boot setup) or make it the full-time replacement.
If there’s one wrinkle in all this, it’s that the cublinux.com site appears to be down, and its user forums along with it. Thus, there’s no real support available unless you seek it elsewhere, say on a broader Linux forum.
During my time with the OS, I found it very easy to use, very nimble and very Chromebook-like. Your mileage may vary, of course, but if you want to breathe new life into an old PC, this is a great solution.
Editors’ note: This post was originally published on January 16 and has since been updated to note that Cub Linux is no longer in development, leaving users without support. In this, case you might want to check out this tutorial for an alternative solution.
Tech Enabled: CNET chronicles tech’s role in providing new kinds of accessibility.
Technically Literate: Original works of short fiction with unique perspectives on tech, exclusively on CNET.