These days I do most of my reading on my Kindle Fire, and whenever possible I grab e-books from my local library. Because, you know, they’re free.
If you’ve never checked out a book this way, or you’re still doing it the “old way,” you may be surprised to learn it’s quite easy. You don’t need to download a file to your PC and “sideload” it into your Kindle or anything like that. In fact, you don’t need your PC or Mac at all.
What you do need is a Kindle Fire and one particular library-friendly e-reader app. Here’s how to check out an e-book straight from your library to your tablet. (Note that the process is quite similar for checking out audiobooks, but for purposes of this tutorial, let’s focus on the stuff you read.)

Screenshot by Rick Broida/CNET
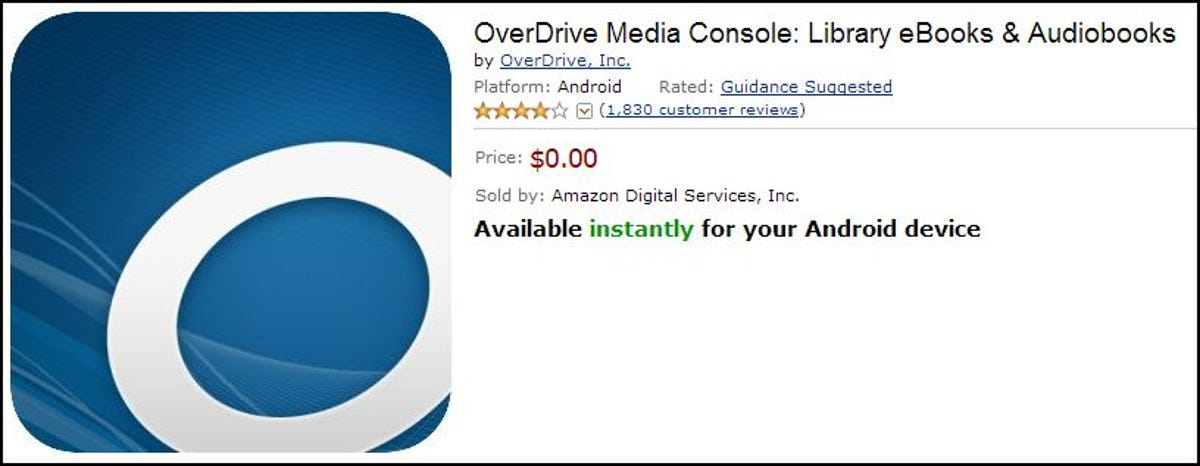
Step one: Install OverDrive Media Console on your Kindle Fire HD or later. It’s available via the Amazon Appstore, as is a separate version for the first-generation Kindle Fire.


Screenshot by Rick Broida/CNET
Step two: Run the app. In the top-left corner, tap the blue OverDrive icon, then tap Add a Library.


Screenshot by Rick Broida/CNET
Step three: Enter the name, city, or ZIP code of your local library and tap Search, or tap the Browse button to drill down by country and then city.
Step four: When you see your library name, tap it. You should then see at least one e-book download service associated with that library. In my neck of the woods, for example, you might see Download Destination or MetroNet. Tap the star alongside the service name to add it to your favorites (so you don’t have to repeat this search process), then tap the name of the service itself.


Screenshot by Rick Broida/CNET
Step five: You should see a book catalog in a browser-like interface. Tap Sign In in the upper right, then enter your library credentials (usually your library-card number and account password — one or both of which you may need to obtain from your library).


Screenshot by Rick Broida/CNET
Step six: Browse or search the catalog until you find a book you want. (From this point forward I’m using Download Destination to illustrate the process. Things may look or function a bit differently with another service.) If it’s available, you should see a Borrow button; if not, you can tap Place a Hold to get your name on the waiting list. For our purposes, I’ll assume you’ve found something available for checkout.


Screenshot by Rick Broida/CNET
Step seven: After tapping Borrow, you should see an option to confirm your download, though you may need to select a format first. If you have the option, tap and select Kindle Book. Then tap Confirm & Download.
Step eight: You should land at an Amazon page for that book. In the green box on the right side of the page (you may want to zoom in so you can see it better), make sure the proper Kindle is selected in the “Deliver to” menu, then tap Get Library Book.
That’s it! When you return to your Kindle’s Home screen, you should see the book already downloaded and ready for reading. (If not, try manually syncing your Kindle.)
This may seem like a lot of steps, but it goes very quickly after you’ve learned the ropes. And there’s no quicker or easier way to land free e-books.


