Jason Cipriani/CNET
When Apple announced that the iPhone 5S was going to come with the ability to capture slow-motion video, I was excited. Slowing down films of my kids has always been something I enjoyed doing, but I had to use various third-party apps or import the clips into iMovie in order to accomplish it. Now, with the iPhone 5S I have a native option to capture, edit and share slo-mo videos. And if you’re lucky enough to have found a 5S in stock somewhere, you have the ability to create slo-mo videos with you at all times. Check out these five fun clips of taken with the slo-mo feature if you’re not sold on it quite yet.
There are a few tricks, however, that you’ll need to know in order to get the most out of the new Slo-Mo feature; let’s take a look.
Recording


Screenshot by Jason Cipriani/CNET
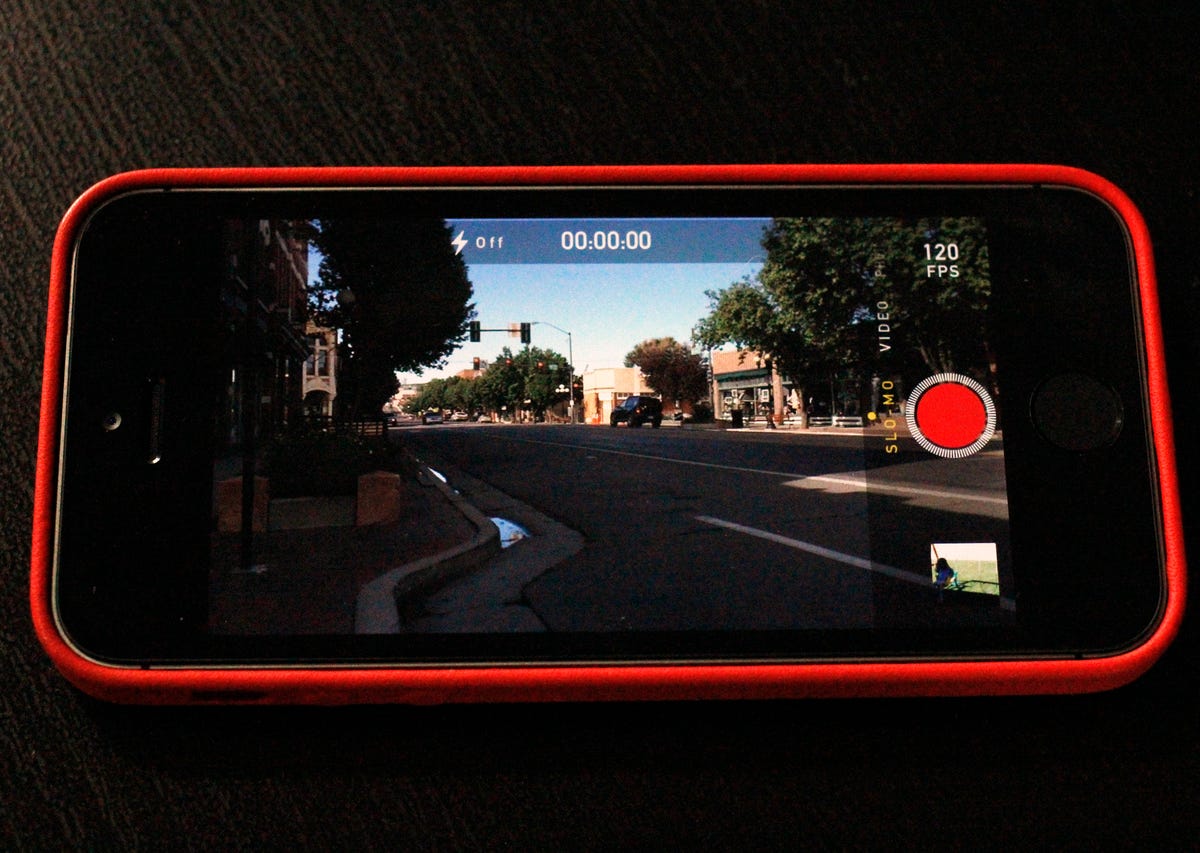
Recording a slo-mo video is no different from recording a normal video on any other iOS device. Launch the Camera app, and swipe over to the “Slo-Mo” option. You’ll have the normal red record button, but with a circle of lines around it, indicating that Slo-Mo is selected. A solid white line around the red button indicates that your iPhone is set to record normal speed video. You’ll also find “120 FPS” next to the shutter release button when it’s set to record in slo-mo.
Editing


Screenshot by Jason Cipriani/CNET
After recording a video in Slo-Mo mode, you can immediately edit it in either the Camera or Photos app. Remember that same dotted white circle around the record button? That same indicator will be on the thumbnails of slo-mo videos on your Camera Roll, or stored in your Photos app.
Tapping on a thumbnail will let you watch the video, with iOS having preselected a segment of the video to slow down for you. It does a surprisingly good job of picking the best part of the video to slow down, but it’s not perfect.
So to slow down the portion of the video you want and not what iOS picked, you simply slide around the edit tool to highlight the section you want slowed down. In the screenshot above, the lines closer together indicate normal playback speed, while the lines that are more spaced out indicate a slo-mo section.
You can preview the video by tapping on the play button and adjust the timing until you’re happy.
Sharing


Screenshot by Jason Cipriani/CNET
The worst part of the Slo-Mo feature has to be sharing. With the iPhone 5S recording at 120 frames per second, and requiring either the Camera or Photos app to process and slow down portions of the video to 30fps, sharing can currently only be done through the Share Sheet in the Camera or Photos app. Meaning, you can’t launch Facebook or Instagram and select a slo-mo video from our Camera Roll to upload and expect it to have the slo-mo effect still applied.
Instead you have to open your Photos app, select the video and tap on the Share button. From here you’ll be able to share with the default list of sharing services such as Facebook, YouTube, Vimeo, Mail, iCloud and Messages. (Notice Twitter is missing from the list.)
In order to share with a service such as Instagram, you need to take a few extra steps. Without the ability to share directly to Instagram from the Photos app, you have to export the video to another service, such as Mail, and then save the clip to your Camera Roll.
In other words, you’ll need to e-mail a video to yourself, which does require you to take a hit on the overall video quality, save the attached video to your Camera Roll and then upload it to Instagram or the like.
As MacWorld has pointed out, you can also send the video to another iOS device of your own using AirDrop, or by uploading it to a shared iCloud Photo Stream. For some reason, sending a slo-mo video via iMessage to yourself doesn’t apply the effect on the same device, but it does play back properly on another device.
The entire sharing process is just plain weird and frustrating. Until Apple makes some changes to the process, or app developers implement the ability to export slo-mo video (if they even can) into apps, plan on sending yourself a lot of e-mails.


