

Now playing:
Watch this:
How to access your PC with an Android phone
2:42
Ever had that sinking feeling that a file you desperately needed has been left at home? Suddenly need to access your computer from the other side of town?
You can do this and more with your mobile device and two free apps.
If you want to keep specific folders in sync across multiple computers and
devices, so you always have access to up-to-date files wherever
you are, then read on. You’ll never have to worry about leaving your important files at home again.
1. Syncing files for backup and mobile access
SugarSync allows you to back up and synchronise folders between multiple computers and a wide range of mobile devices, including iOS, Android and BlackBerry. If the files and folders you wish to sync don’t exceed 5GB you won’t pay a penny to use it.
Start by signing up for SugarSync’s free 5GB plan, which can be found at the bottom of the page. All you need to provide is your name, email and a password.
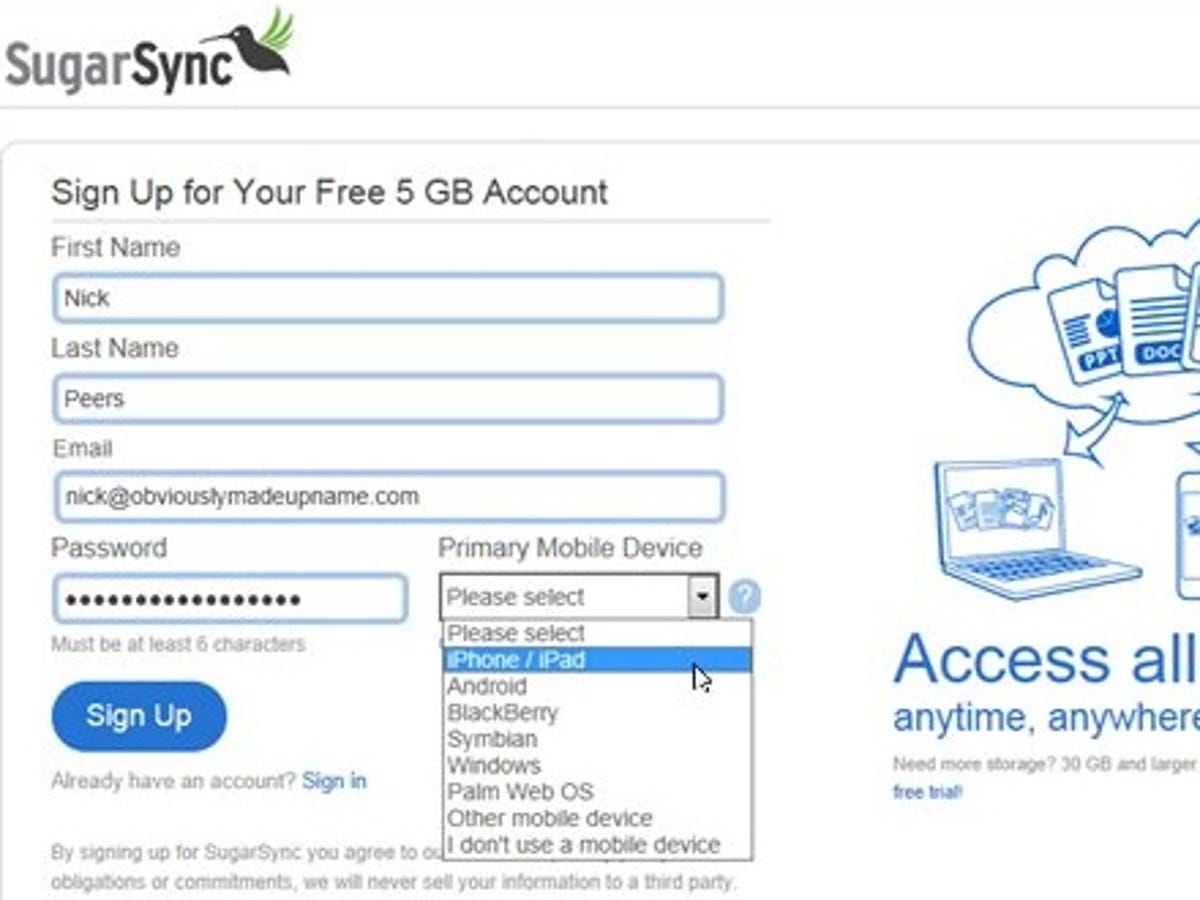

A 5GB SugarSync account will set you back a grand total of zero quid.
2. Setting up sync folders
When prompted, download SugarSync Manager for Windows or Mac. Install the app following the default settings and then log in when prompted using your email address and password. Name your computer and assign it a suitable icon from the selection on offer, then click Next.
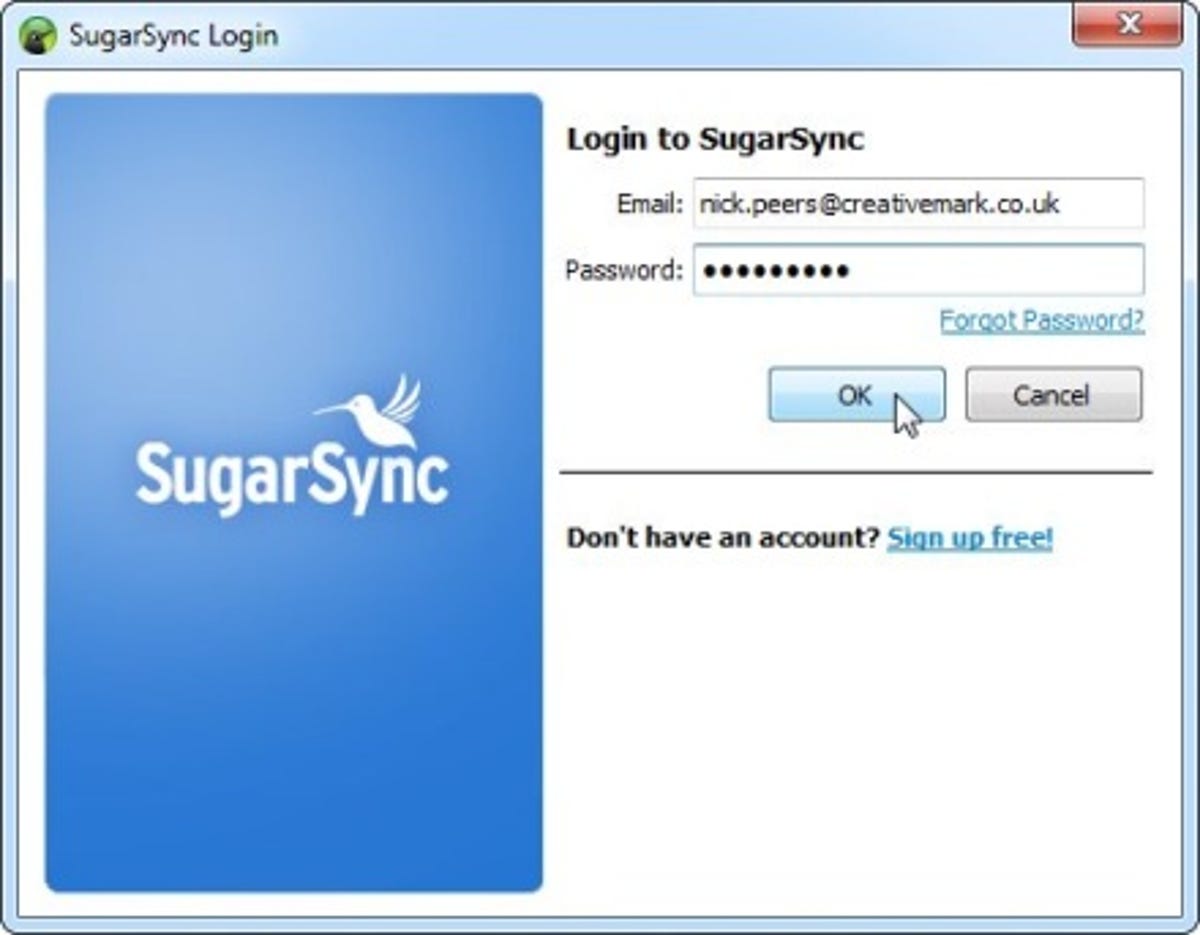

Log in using your email address and password — or more likely, fruitlessly scan your ADD-afflicted short-term memory and click ‘Forgot password?’
You’re then prompted to choose which folders to synchronise with SugarSync, with the size of each folder handily calculated as you browse. Select those folders you wish to share while making sure the overall backup size is less than 5GB.
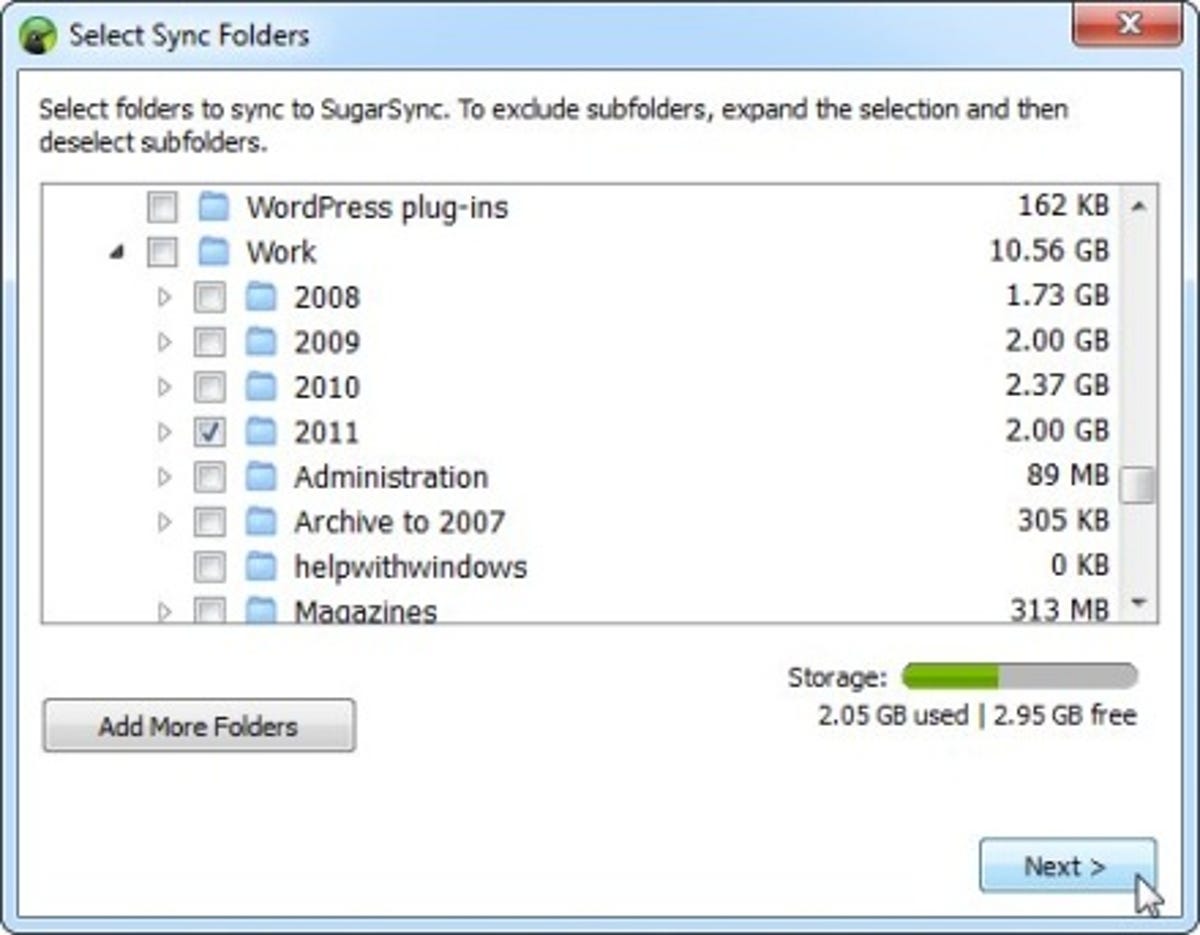

Don’t exceed your 5GB free file size limit or they’ll send round the bailiffs.
3. Managing your folders
Once the product tour has completed, click Finish, at which point your folders will start uploading to SugarSync’s servers. This’ll take some time depending on your Internet connection; in the meantime, explore the main part of the program by right-clicking SugarSync’s Notification area icon and choosing SugarSync File Manager.
From here you can add new folders, remove existing ones and even share files and folders with others. Sharing is simple: browse to the folder or file in question, select it and click the Share button; fill in the details to email selected individuals a link to the shared content.
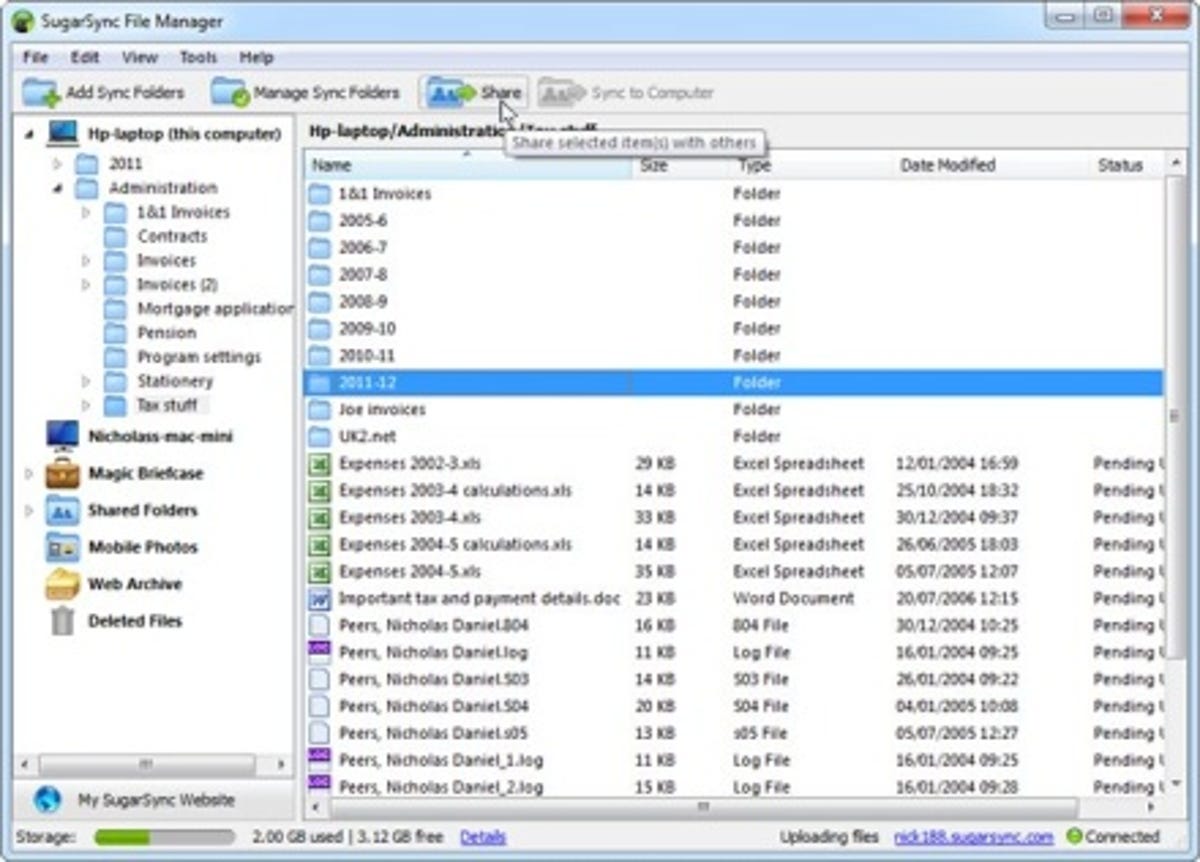

Share and share alike by sending email links of files and folders to friends.
4. Syncing with another computer
To sync with another computer, open your browser on that computer and log in to your SugarSync account, where you’ll discover you’ve earned another 125MB free space simply by installing SugarSync Manager, along with tips for earning more.
To add SugarSync to the computer you’re on, select Files and then click ‘Add a Device’. Choose Computer to download the software. When setting up this Mac or PC, skip the ‘Select Sync Folders’ section. Instead, click or right-click the program’s icon and choose ‘Manage Sync Folders’ to sync the folder you’ve uploaded from your other computer to this one.
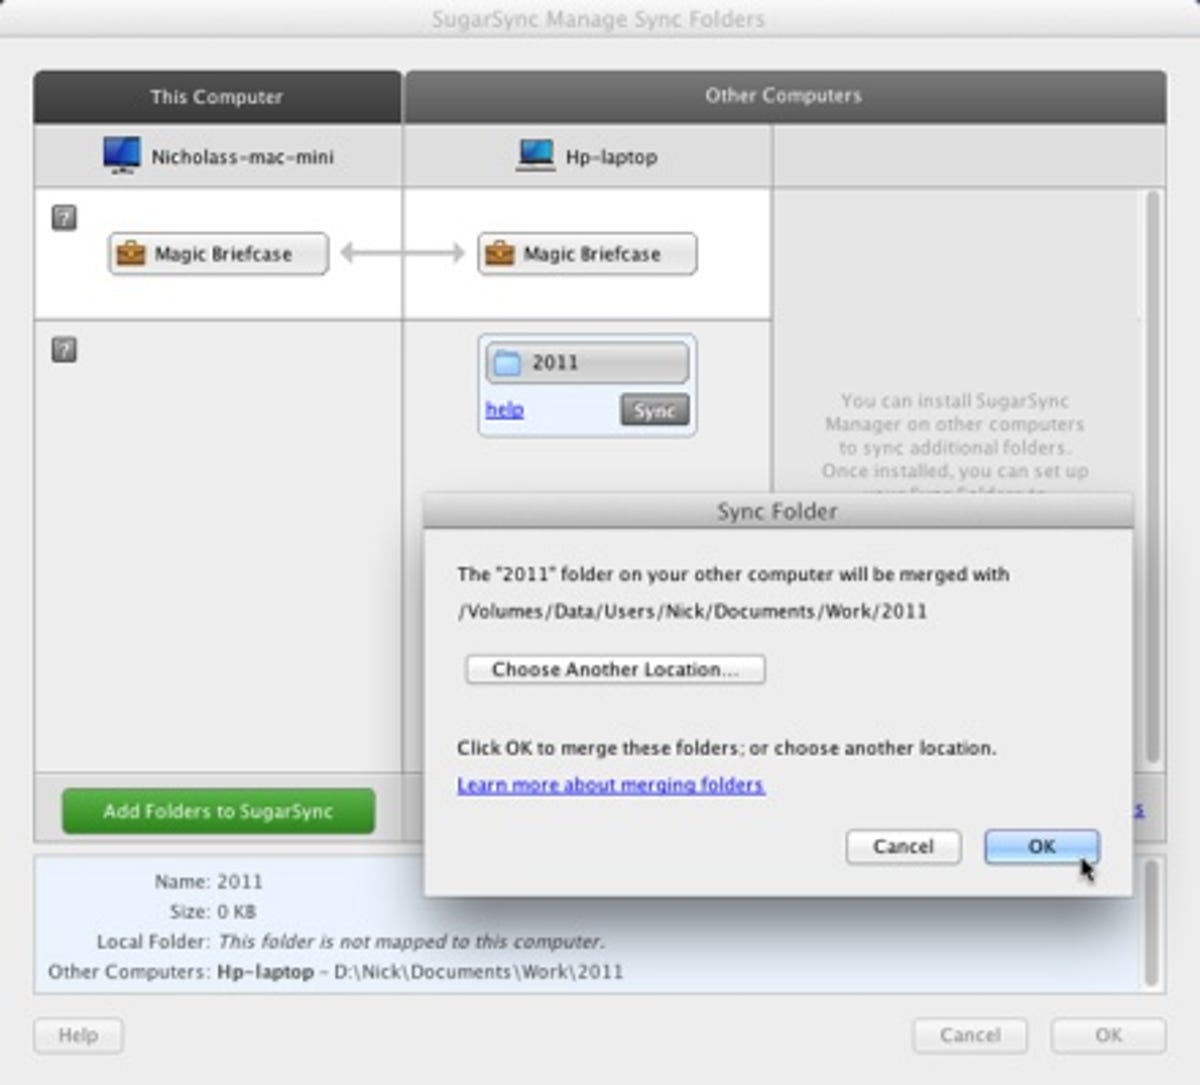

Synchronising one computer with another will mean you’ve always got access to the most up-to-date files on either computer.
Once synchronised, changes made on one computer will automatically appear on the other, ensuring you always have access to the latest versions of your files, whatever PC or Mac you’re on.
5. Accessing files on the move
To browse and access your files via your mobile device, install and launch the SugarSync app from App Store or Android Market. Log into your account, where you’ll find you can browse — and in most cases view or read — the documents or media files from within the mobile app itself.
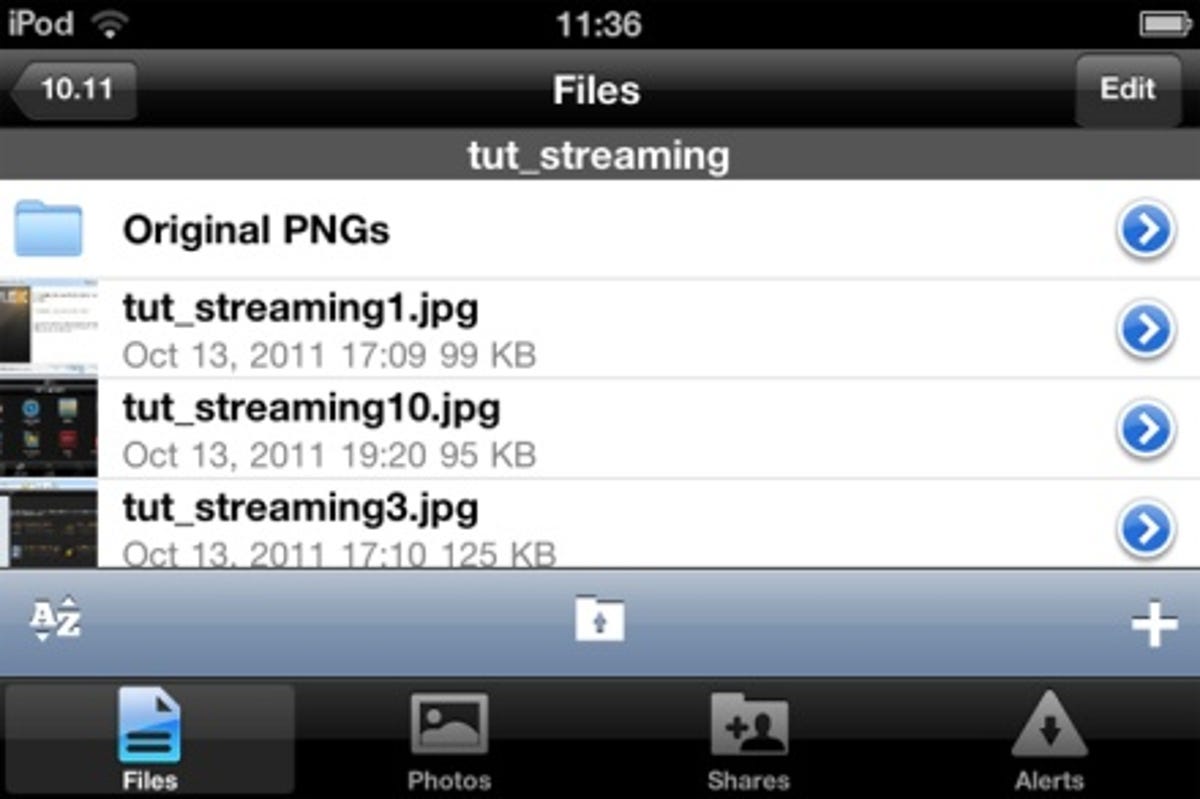

Once you’ve installed SugarSync on your mobile and logged in, all your files should be accessible.
You can also share, move, copy or delete these files directly from your mobile device, or upload more content from your device to your SugarSync account, giving you full control over your files.
6. Taking remote control
Imagine you need more than simple access to your files: you might need to physically access your computer while away from home. No worries, just install a free for personal use tool called TeamViewer. This lets you remote-control your PC or Mac from another computer, or even your Android or iOS mobile device.
Start by downloading the TeamViewer Host for your computer. This is all you need to set it up for unattended access. During installation leave ‘Show advanced settings’ unticked; click Next and follow the setup procedure through. When prompted, assign a password and rename your computer if necessary. Tick ‘Add this computer to my list of computers after the installation’ and click Finish.
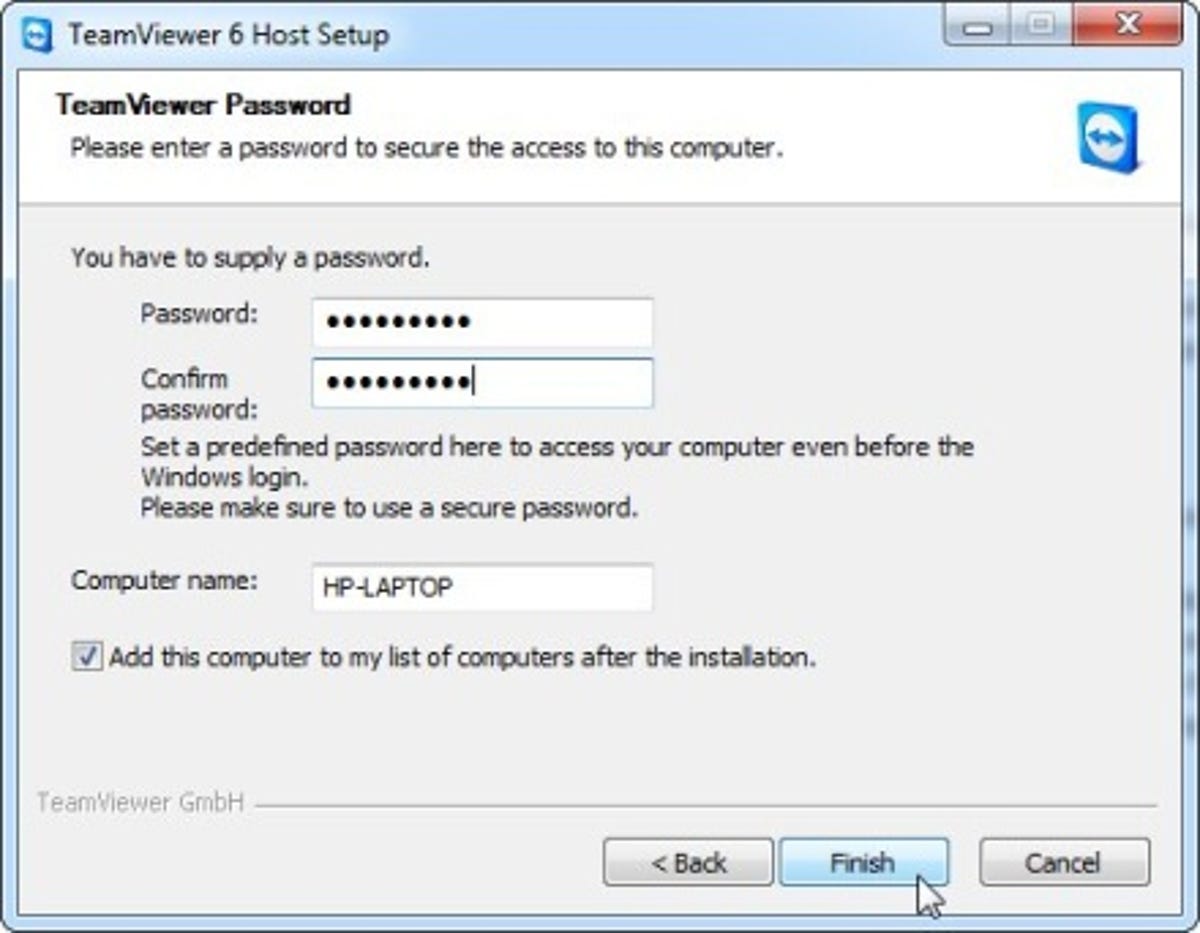

The free app TeamViewer allows you to not only access files on your mobile, but to actually access your home computer.
7. Setting up unattended access
You’ll be prompted to create a TeamViewer account. Connections are normally made from other computers and mobile devices by entering the unique nine-digit ID that appears in the main TeamViewer window. If you only plan to use TeamViewer on one computer, you can probably get by with just this ID. Click Cancel and skip to the next step.
If you want to simplify the process of connecting to this and other computers, create an account you can use to log into on your mobile device by following the prompts.
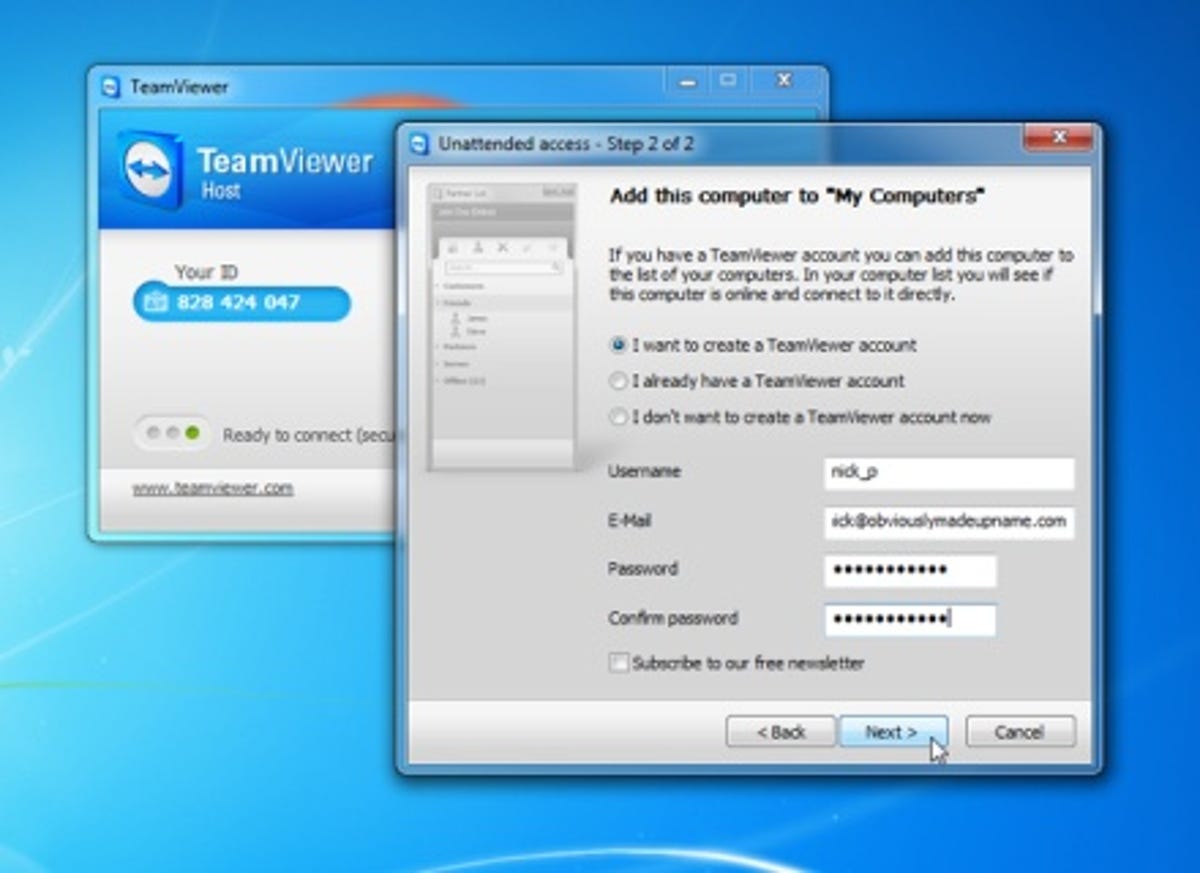

Follow the prompts to set up a TeamViewer account.
8. Tweaking connection settings
Before attempting your first connection, click OK to hide the status window. Click or right-click the TeamViewer icon and choose Options to fine-tune your connection settings. By default, Incoming LAN connections are set to ‘Deactivated’ — change this to ‘Accept’ to take remote control over your home network.
Switch to the Security tab to control who has access to your PC. For the purposes of accessing your computer without having logged in first, set Windows logon to ‘Allowed for administrators only’. All other settings can be left as they are so click OK to continue.
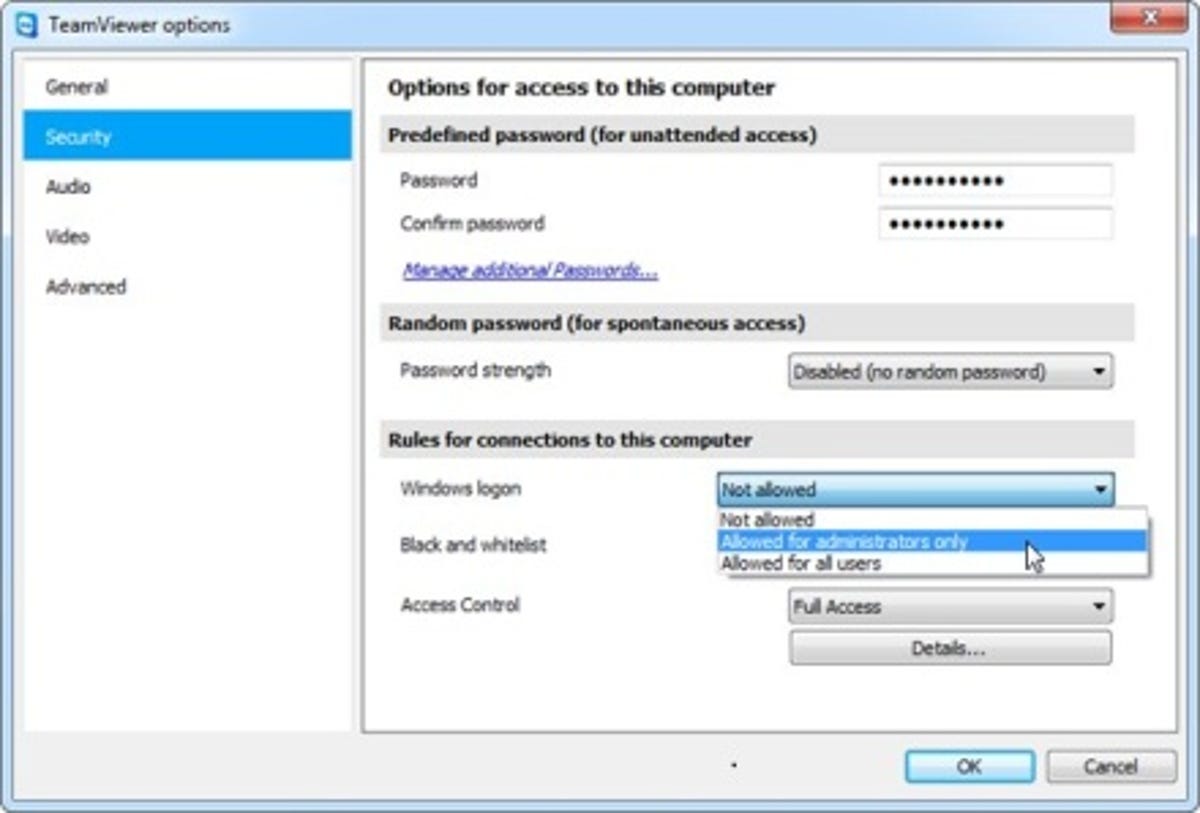

Choose ‘Allowed for administrators only’ to access your computer without having logged in first.
9. Testing your connection
There are TeamViewer mobile apps for Android and iOS, both of which are free and accessible from Android Market and App Store. Once installed, launch the app and either log in using the computer ID and password you set up earlier, or tap ‘Partner list’ to log in using your TeamViewer account.
There’s an additional option in the iOS app — Files — that allows you to simply make a connection for the purposes of transferring files to and from your computer using your mobile device.
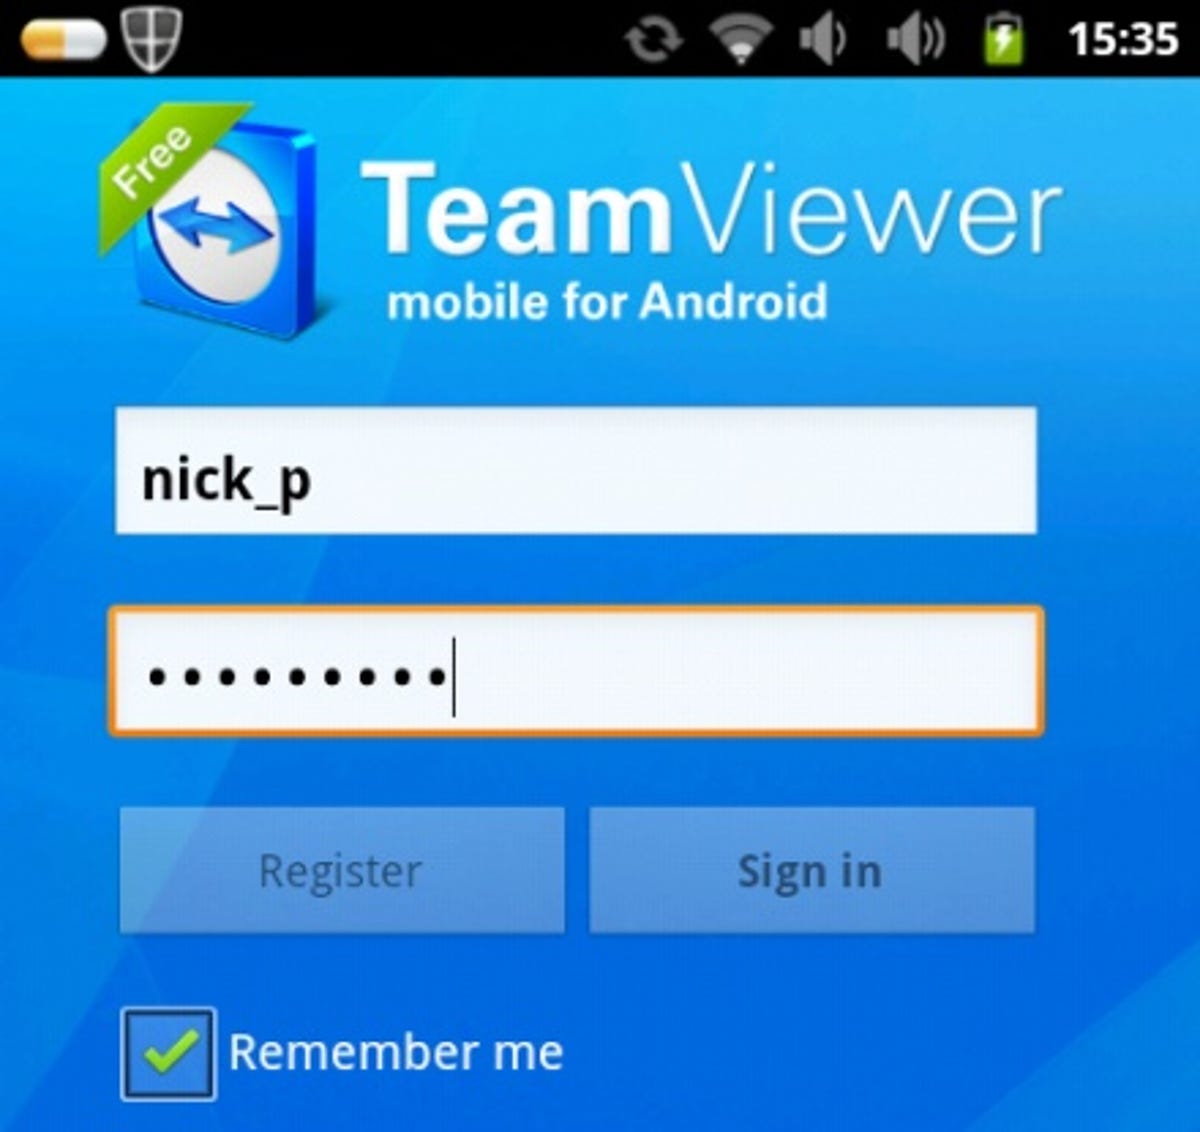

Lucky you, the TeamViewer app is free from Android Market and App Store.
Note: at the time of writing, there was a bug with the iOS app, which means the options at the bottom of the screen are missing in iOS 5. TeamViewer should have an update shortly that rectifies this problem.
10. Controlling your remote computer
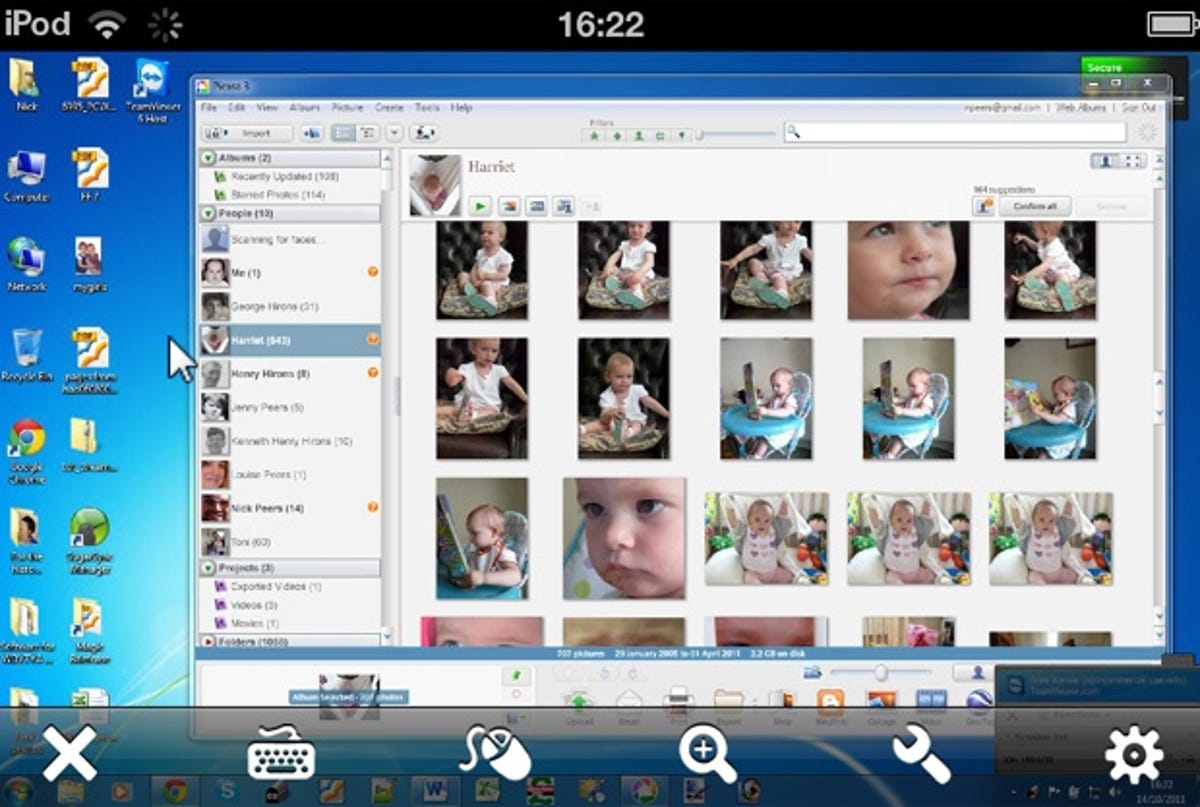
Once connected, your computer’s desktop will appear on your mobile device. Obviously the larger the device, the better the experience.
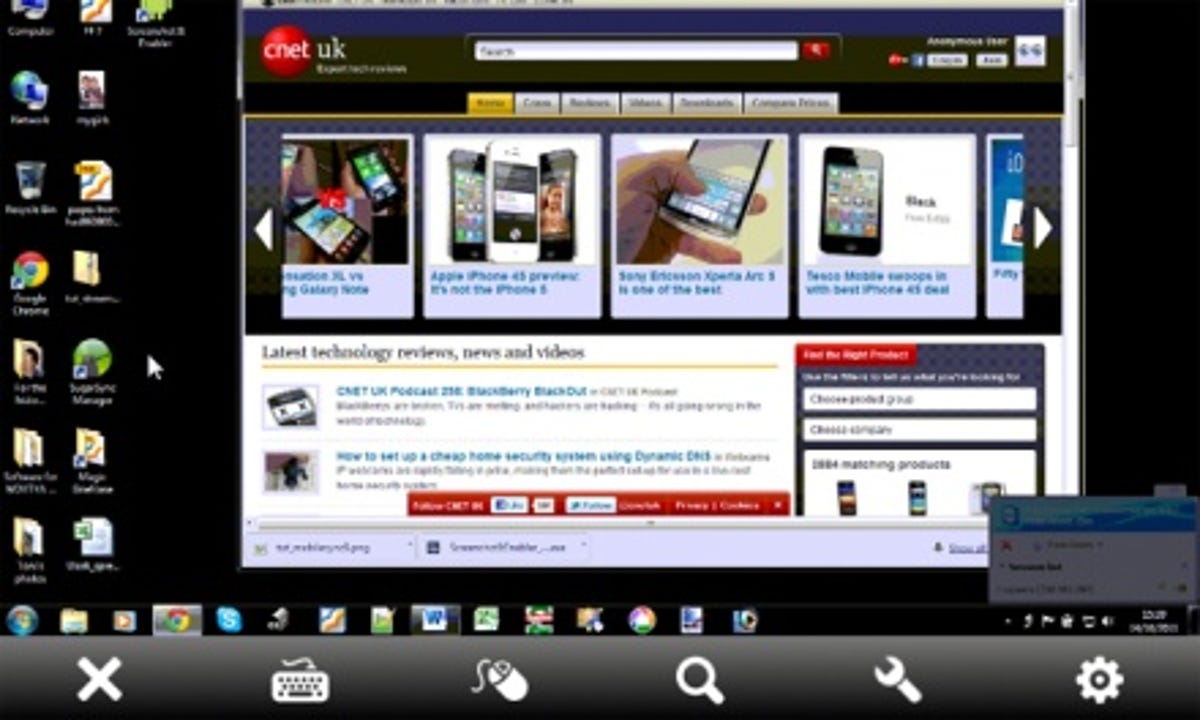

Hey presto, there’s your home computer on your mobile. Best if you have a decent-sized screen or you’ll develop cataracts from squinting.
You can switch between mouse and keyboard control using the buttons at the bottom of the screen. Should you need to reboot the computer for any reason, tap the spanner icon and choose Remote Reboot. You’ll momentarily lose your connection while the computer restarts — wait a few minutes before connecting again.


