Have you looked at that mess of cables behind your desk lately? Yeah, me either. If you’re employing the tried-and-true “out of sight, out of mind” approach to managing your wires, there’s no better time than the present to actually do something about it.
Use these tips to get your cables in order quickly, easily, and cheaply.
Optimize your outlets
Well-placed outlets are the first step to effective cable organization. If you’re lucky enough to have an outlet or two underneath your desk, right next to your PC and printer… well, you probably built your house or you just had enough outlets to start. But if you’re like me — I live in a building that used to be a textile factory — you’re probably hurting for outlets.


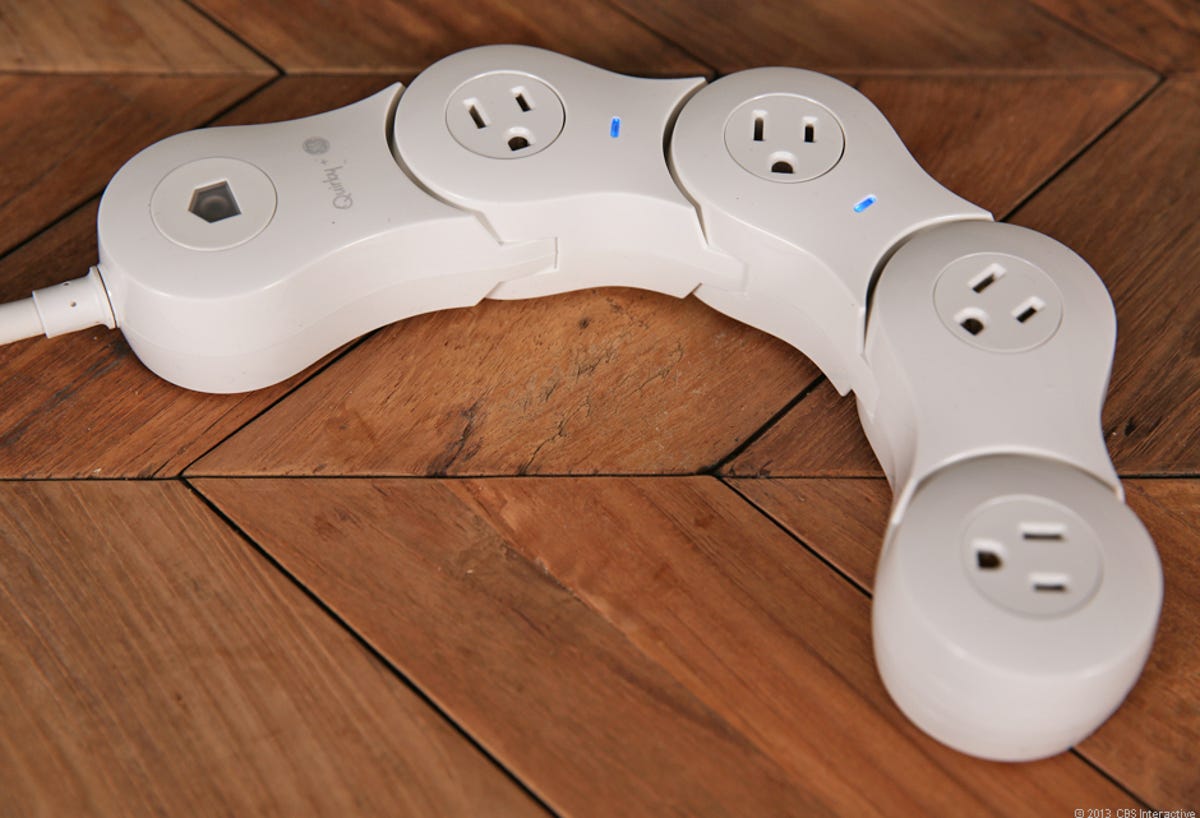
Outlets wherever you need them.
Quirky.com
Instead of using a typical extension cord to bring the outlet to you, consider the clever $20 Quirky Pod Power, a 9-foot-long cord that has three power outlets distributed along its length. It’s perfect for when you need several outlets, but not all in the same place: think long desks, nightstands on either side of the bed or multiple devices.
For power strips and surge protectors, I like Quirky’s $20 Pivot Power strip or the $30 surge protector (for a closer look, check out CNET’s review of the $80 Quirky Pivot Power Genius). These flexible strips bend and twist to accommodate all of your plugs, even if you’re dealing with large adapters.


A Quirky power strip.
Colin West McDonald/CNET
Label your cables


Cable IDs so you know which cable is which.
The Container Store
Once you have the outlets you need, a good cable-labeling system is a must (unless, of course, you don’t mind spending 30 minutes unplugging peripherals every time you need to troubleshoot your webcam). There are a few cheap, effective ways to label cables: you can buy these $8 Container Store Cable IDs (they wrap around your cables and can be labeled with a ballpoint pen); you can use bread tags (assuming you eat a lot of bread, I don’t); or you can use the old standby, masking tape. I like masking tape best because it’s cheap, easy to remove and you can write on it with just about anything.
Tie ’em up
The easiest way to elevate the mass of cables behind your desk from “giant mess” to “relatively organized cable situation” is to bundle those cables together and tie ’em up. If you’re using the masking tape-labeling system, you also can use the tape to bundle your cables together. Of course, you’ll need to remove and replace the tape if you ever need to swap out a cord. Luckily, masking tape is easy to tear off and doesn’t leave a sticky residue — don’t try this with duct tape.
You can also opt for a more flexible solution, such as twist ties (either the cheap, reusable twist ties that come with your cables, or these tougher Gear Ties), or these $5 for 50 Velcro cable ties. You can also use twist ties and Velcro cable ties to shorten your longer cables, so you have less mess lying around.
I recommend staying away from zip ties for non-permanent cable management, because they’re difficult to remove and you may end up snipping one of your cables in the process (don’t ask me how I know this).


If you’d prefer not to wrap and label your cords, just throw ’em in a box.
Blue Lounge
Hide ’em
If you’d prefer not to go through the trouble of bundling and tying up your cables, there’s an easier solution: Hide them in a box under your desk! Blue Lounge’s $30 CableBox fits a large surge protector and has two slits on either side to give you access to all your cables. If you need more room, you can try the $90 CableBin; if you need less room, you can check out the $30 CableBox Mini, which comes with a four-socket surge protector.


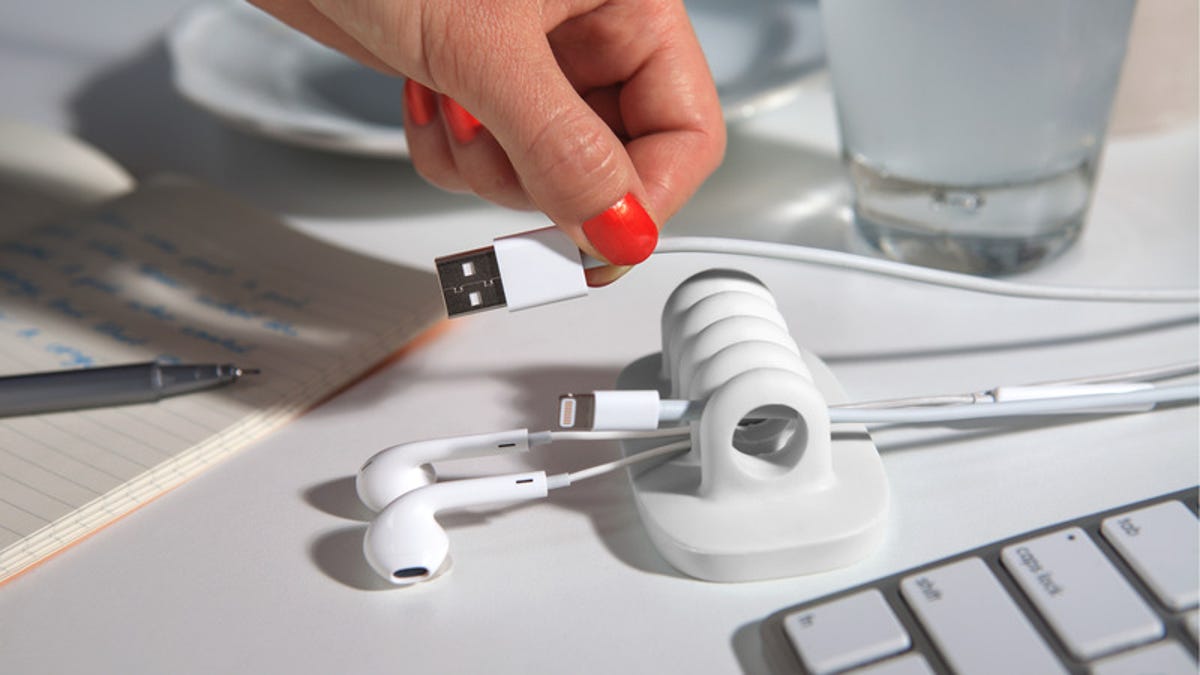
Cordies keep your chargers in place.
Quirky.com
Organize your desk
Keep the cables you need, such as phone chargers, on your desk with weighted cable drops. Blue Lounge’s $10 CableDrops come in multi-colored packs (white, black, bright, and muted) and two sizes. The CableDrops aren’t weighted, but they have self-adhesive backs, so you can stick them on the top (or side) of your desk or nightstand. Quirky’s $5 Cordies is a weighted cord manager that can hold four cables on your desk, while Blue Lounge’s $12 Sumo uses micro-suction to adhere to any flat surface and keep two cords in place.


Now playing:
Watch this:
Throw out these 4 cords today
1:57


