
Related Articles


Sarah Jacobsson Purewal/CNET
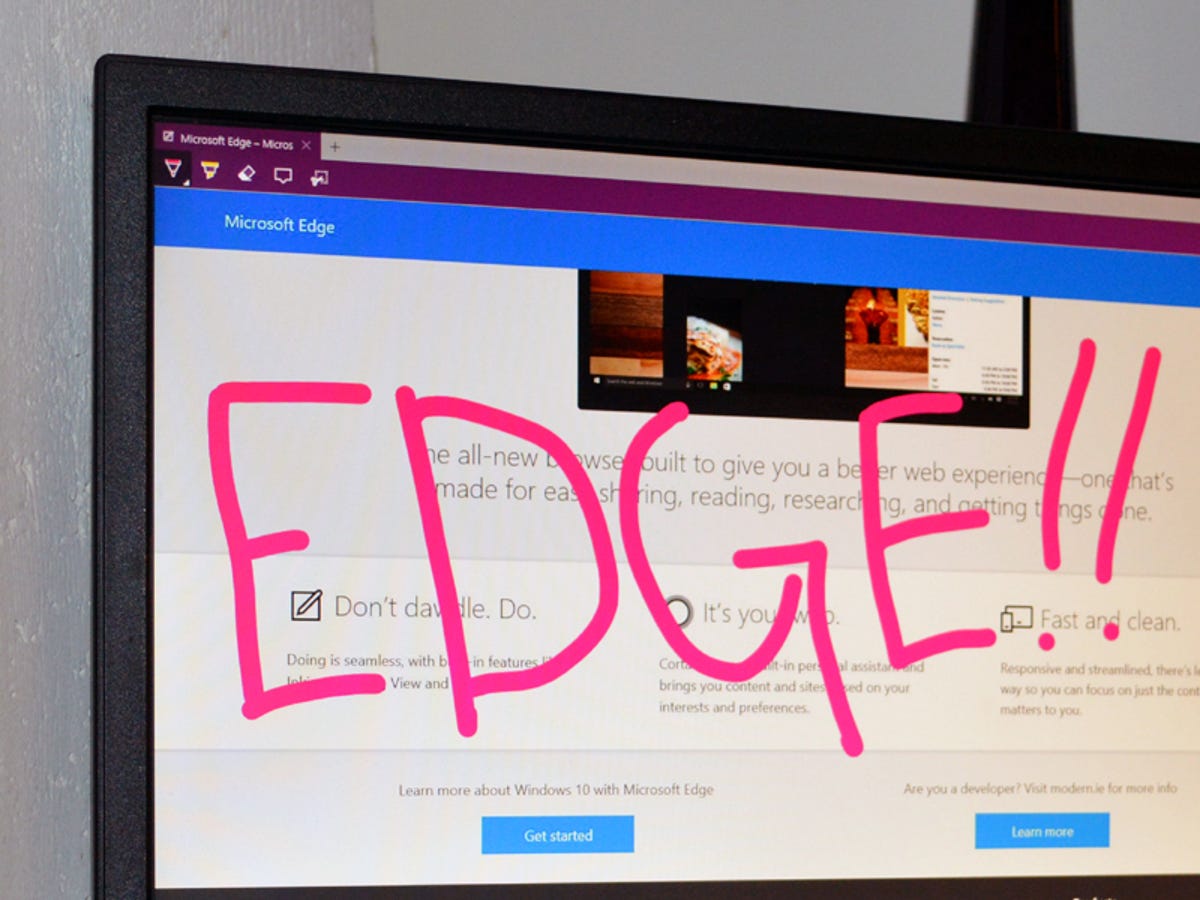
Windows 10’s next-gen browser, Microsoft Edge, has several new features you’ll want to take a look at, including a distraction-free reading view and a fast, secure rendering engine (which was available as an experimental feature in Build 9926).
But the coolest new feature is inking — the ability to draw, write on, and generally mark up Web pages from directly within the browser. You can share your marked-up creations via email or through social networks, or you can save them to OneNote.
Start inking
When you see a Web page you want to “ink,” click the small icon that looks like a pen and paper in the upper right corner of the browser window. There are only about five icons total, so this shouldn’t be too difficult to find.

Screenshot by Sarah Jacobsson Purewal/CNET
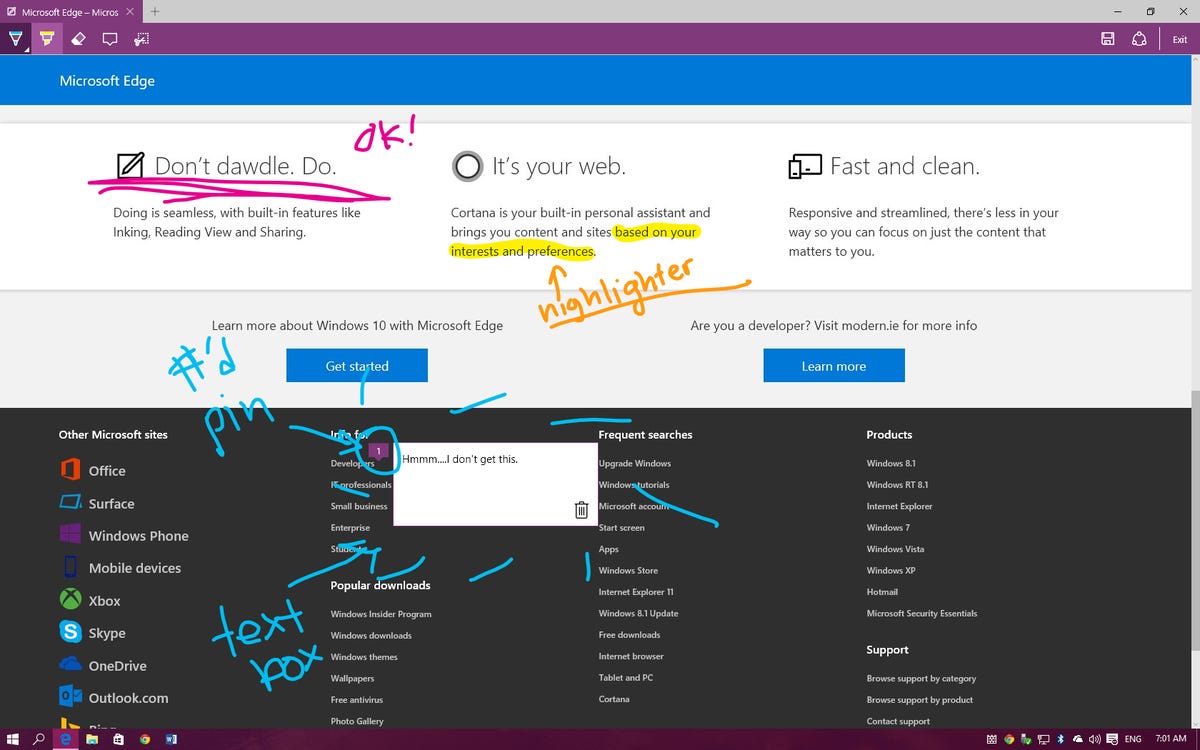
The Web page will refresh and the inking toolbar will appear over the regular toolbar. On the left side of the inking toolbar, you’ll see five icons: pen, highlighter, eraser, text and clip. The pen tool is selected by default, so you can just start scribbling away if you’d like (in medium thickness, light blue ink). If you want to change the color of your pen, click the pen icon to choose from 12 colors and three sizes.
To use a highlighter, which will let you highlight text and images instead of drawing over them, click the highlighter button. Click the highlighter button a second time to select your highlighter color and shape (six colors, three shapes).
Type some comments
Sarah Jacobsson Purewal/CNET
If you prefer typing to writing or drawing, you can use the text tool to make comments on the webpage. To do this, click the text tool button and then click anywhere on the page. A numbered pin will appear at that spot, and next to it you’ll see a text box, in which you can type whatever you want.
If you want to declutter the page, you can close the text box by clicking on the numbered pin. The pin will remain where it is, but the text box will minimize. To reopen the text box, simply click the pin again. You can also move the text box by clicking and dragging the numbered pin.
To delete both the comment pin and the text box, click the trash can icon in the lower right corner of the text box. One thing to note when you’re using the text tool is that all “ink” (pen and highlighter) marks will appear over all text boxes.
The clipping tool will also turn your cursor into a cross-hair, so you can clip out a section of the page. It works similar to the Snipping Tool — click the clipping tool icon, and the page will fade out until you select a section of it. Once you have a section selected, you’ll see a small copy icon in the lower right corner; click this to copy your clip (you can paste it into another program, such as Microsoft Paint, if you want to save it).
Erase line-by-line
In the Windows 10 Pro Insider Preview Build 10158, Microsoft finally has the eraser tool working properly. Click the eraser tool button to give your cursor erasing powers — click, hold and move your cursor over any inked lines (either pen or highlighter) to erase them from the screen. The eraser tool is interesting at the moment; it currently works by erasing the entire stroke (e.g., if you write something in cursive and then move the eraser tool over one part of the cursive word, the entire word will disappear). What’s interesting about this is that you can’t erase strokes by simply clicking on them — you must hold the mouse button down and move the cursor over them in an “erasing” motion. This isn’t ideal, since if you accidentally move the mouse over two different strokes, both strokes will be erased.
To erase the entire page, click the eraser tool button a second time and a menu will pop up with one option, Clear all ink.
Share or save your masterpiece

Screenshot by Sarah Jacobsson Purewal/CNET
On the right side of the inking toolbar, you’ll see a save icon and a share icon. To save your newly-annotated webpage, click the save icon.
A menu will pop up with three different save options. You can send your creation to OneNote, add it to your favorites, or add it to your reading list.
To share your work, click the share icon to open up Windows 10’s sharing sidebar. At the top of the sidebar, you’ll see the name of your file — click this to choose whether to share your file as an HTML link or a screenshot. Underneath this, you’ll see a list of apps and programs you can use to share your file.
Editors’ note: This How To post was originally published on March 31, 2015, and was updated to reflect new information regarding Windows 10 Pro Insider Preview Build 10158.
