Sarah Jacobsson Purewal/CNET
One thing that’s noticeably missing from the new Windows 10 Settings menu is the system image backup utility. A system image backup is basically an exact copy (“image”) of a drive — in other words, you can use a system image to completely restore your computer, settings and all, in the event of a PC disaster.
Microsoft introduced the system image utility in Windows 7, and then tried to hide it in Windows 8 and Windows 8.1. It’s still hidden in the Windows 10 Technical Preview, but the Recovery section of the Update & recovery tab does mention system images (under “Advanced startup”), so I hope that the system image utility will remain a backup option when Windows 10 officially launches.

 Enlarge Image
Screenshot by Sarah Jacobsson Purewal/CNET
At the moment, this is how you can create a system image in Windows 10:
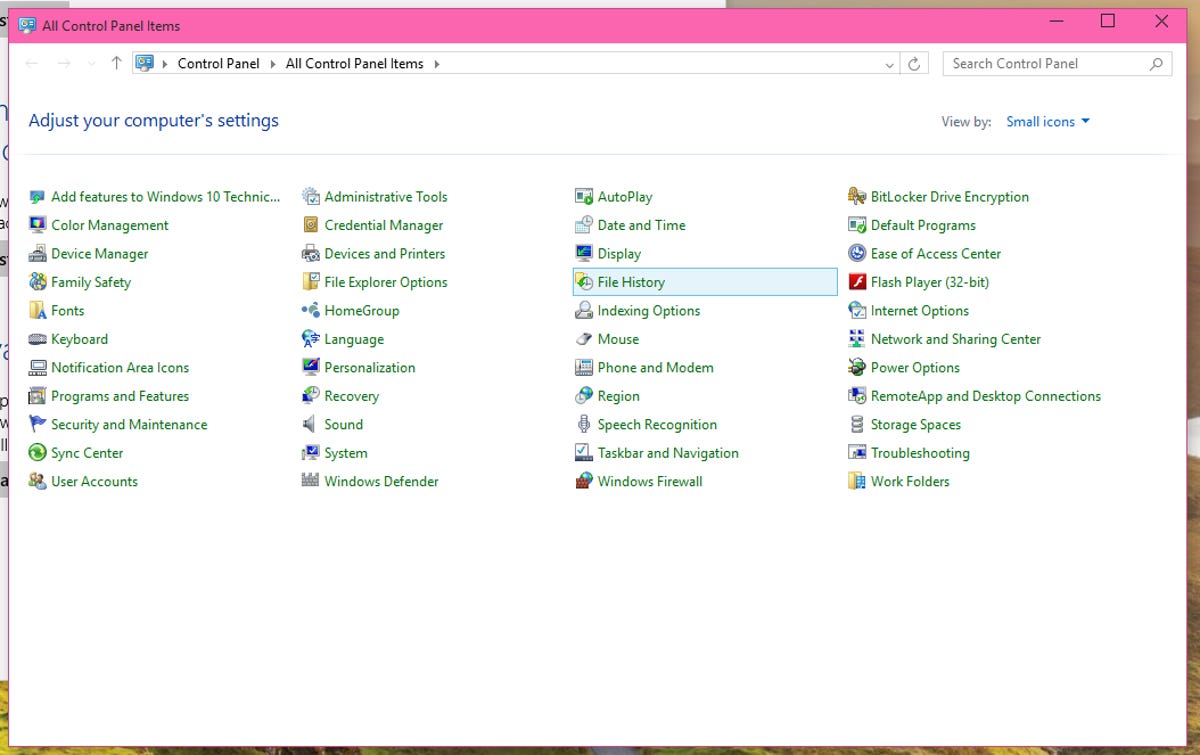
1. Open Control Panel and go to File History.

 Enlarge Image
Screenshot by Sarah Jacobsson Purewal/CNET
2. At the bottom of the left pane, you should see a link to System Image Backup, under “See also.” Click this link.

 Enlarge Image
Screenshot by Sarah Jacobsson Purewal/CNET
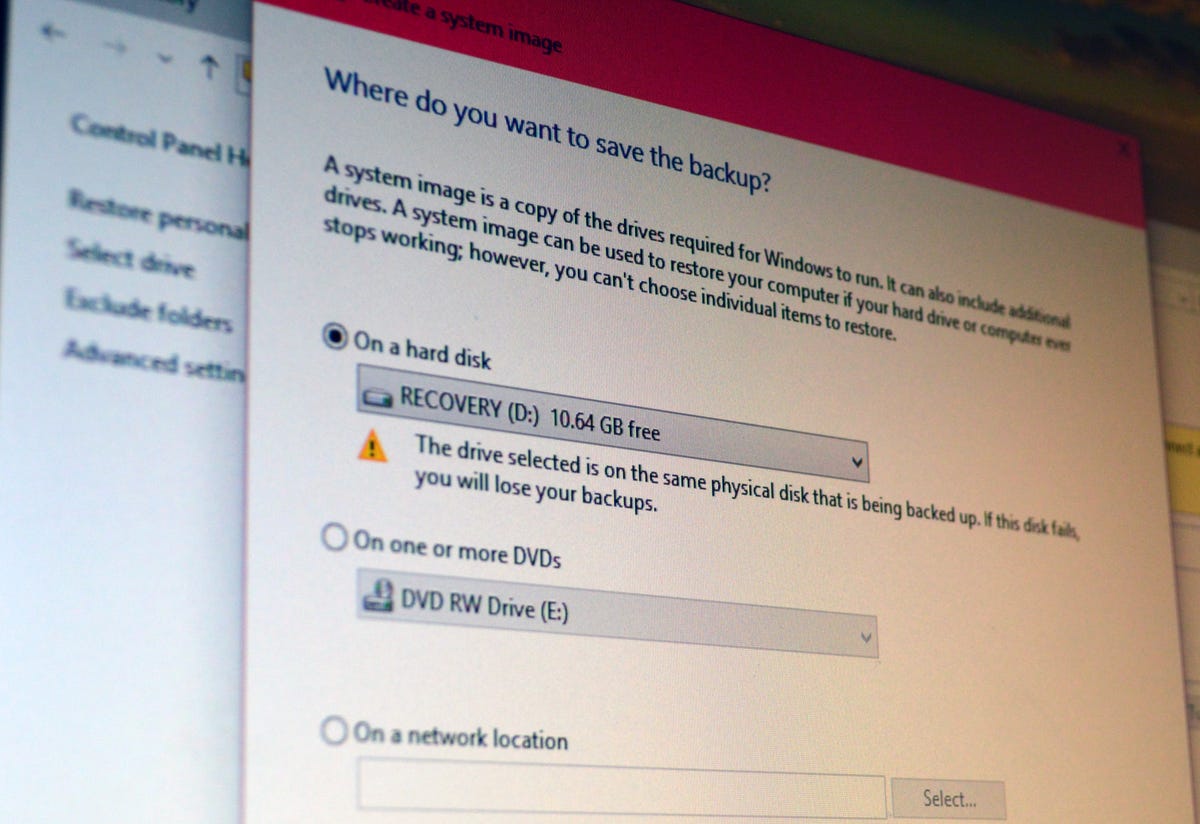
3. The System Image Backup utility will open. Pick a place to save your system image backup (on a hard disk, on one or more DVDs, or on a network location), and click Next. Confirm your settings and click Start backup.

 Enlarge Image
Screenshot by Sarah Jacobsson Purewal/CNET
To use your system image to restore your PC, open up the new Windows 10 Settings menu and go to Update & recovery. Under Recovery, find the Advanced startup section, and click Restart now. When your PC restarts, go to Troubleshoot, Advanced Options, and then choose System image recovery.


