
Related Articles


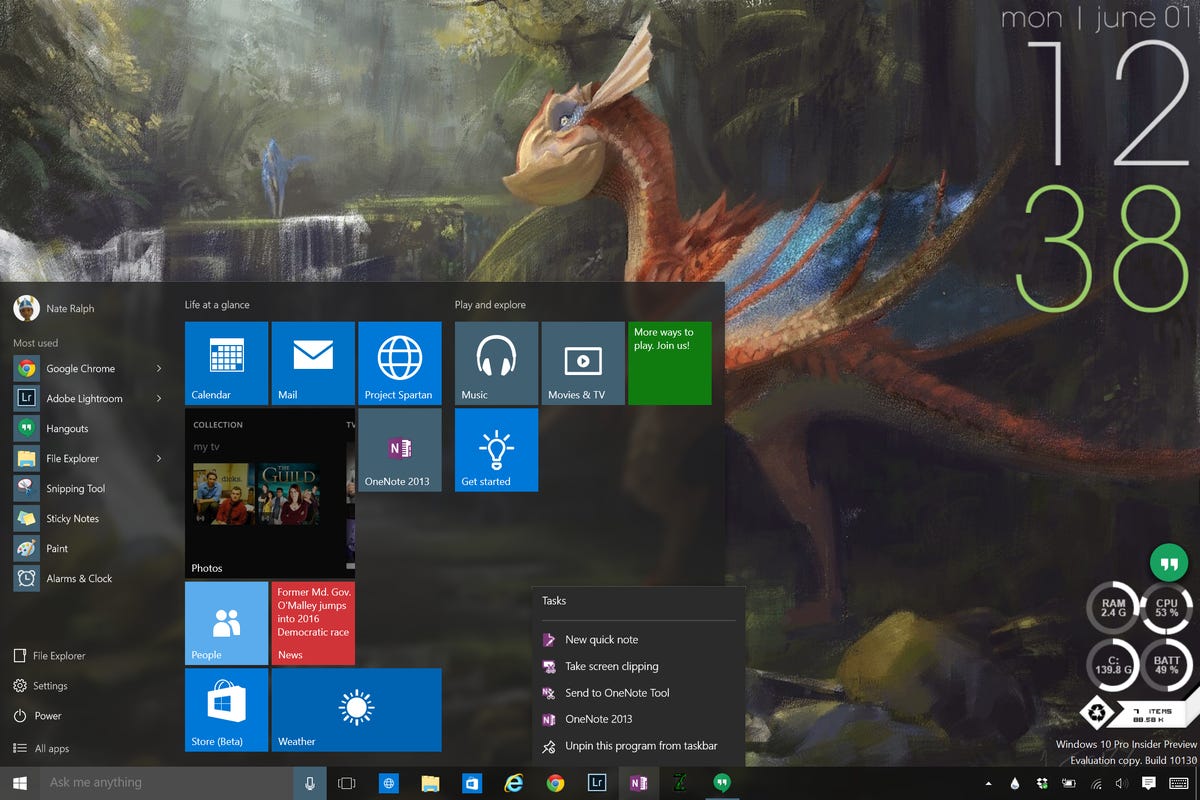
Screenshot by Nate Ralph/CNET
Windows 10 is set to arrive on July 29. The update will be free for the first year for qualifying Windows 7, Windows 8 and Windows 8.1 users. You can find out if you qualify for the free upgrade here.
In addition to an improved design and better functionality, Windows 10 marks the return of a real Start button. It also adds the Cortana voice assistant, the new Edge Web browser, Xbox game streaming, and more.
Before you jump right in and install Windows 10, you should take a few moments and prepare your PC to ensure the upgrade process goes off without a hitch. This article will guide you through the steps of checking for updates, backing up your personal information and creating an all important system image.
8 Windows 10 settings you should change right away


Can your PC run it?
The answer is most likely yes. Windows 10 requires the same minimum hardware requirements as Windows 7. Those requirements are:
- Processor: 1GHz CPU or faster
- RAM: 1GB (32-bit) or 2GB (64-bit)
- Disk space: 16GB (32-bit) or 20GB (64-bit)
- Graphics: DirectX 9-capable video card with WDDM driver
You can also check to see if your machine is capable of running Windows 10 right from your desktop. You will need a computer or tablet running Windows 7 Service Pack 1 or Windows 8.1 Update. From the desktop, click on the small Windows icon located at the right end of the taskbar, and select the “Check my PC” option from the left menu.
Free up space
You will need at least 16GB of free space to install Windows 10. To check how much free space is on your hard drive, head to Computer, right-click the C:/ drive, and select Properties. You can free up some space by clicking the Disk Cleanup button. This usually won’t free up enough space, so you may also have to uninstall programs that you no longer use.
To uninstall a Windows 8 program, go to the Start menu (the screen with the tiles), right-click the tile you want to remove, and select Uninstall. You can also uninstall programs through the Control Panel, which you can search for in Windows 8.
In Windows 7, click the Start button, followed by the Control Panel, and select Uninstall a program.
Back up your data to the cloud or an external drive
Regardless if you are upgrading to Windows 10 or not, it’s always a good idea to back up your data. You can use a cloud service, such as OneDrive, Dropbox or Google Drive, or an external hard drive. Simply drag and drop the personal files — documents, photos, videos, music — you would like to keep safe to the cloud or external drive.
Windows 8 users can also use the File History feature to automatically back up personal files. You can learn how to use the feature here.
Create a system image
Both Windows 7 and Windows 8.1 come with a tool that lets you create a system image (a full backup of everything on your computer). Head to the Control Panel and select “Back up your computer” under the Systems and Security section. On the left choose to create a system image, pick the location you want to save it to (I chose my external storage drive), click Next, confirm that everything looks good, and then click Start backup.
At the end of the process, you will have the option to create a system repair disc. This can be used to help you repair Windows if you run into any problems. You can also create a USB recovery drive, which you can learn how to do here.
If you end up having to restore your PC from a system image, you can do so in the Control Panel. Start by typing “recovery” in the search box, click Recovery, followed by Advanced recovery methods, and select to use the system image you created earlier.
Update device drivers
Whenever installing a new version of Windows, it’s always a good idea to verify that you’re using compatible drivers. This will help you avoid stability issues that could arise due to your computer’s hardware.
Many hardware manufacturers already have Windows 10 drivers available now. To check for drivers, head to your PC manufacturer’s support website. More advanced users can access the DXDIAG tool in Windows to check drivers. I also recommend downloading the drivers to an external thumbdrive, just in case you need them during the installation process.
After you’ve successfully updated your PC to Windows 10, be sure to check out CNET’s complete guide for more tips and tricks.
