Sarah Jacobsson Purewal/CNET
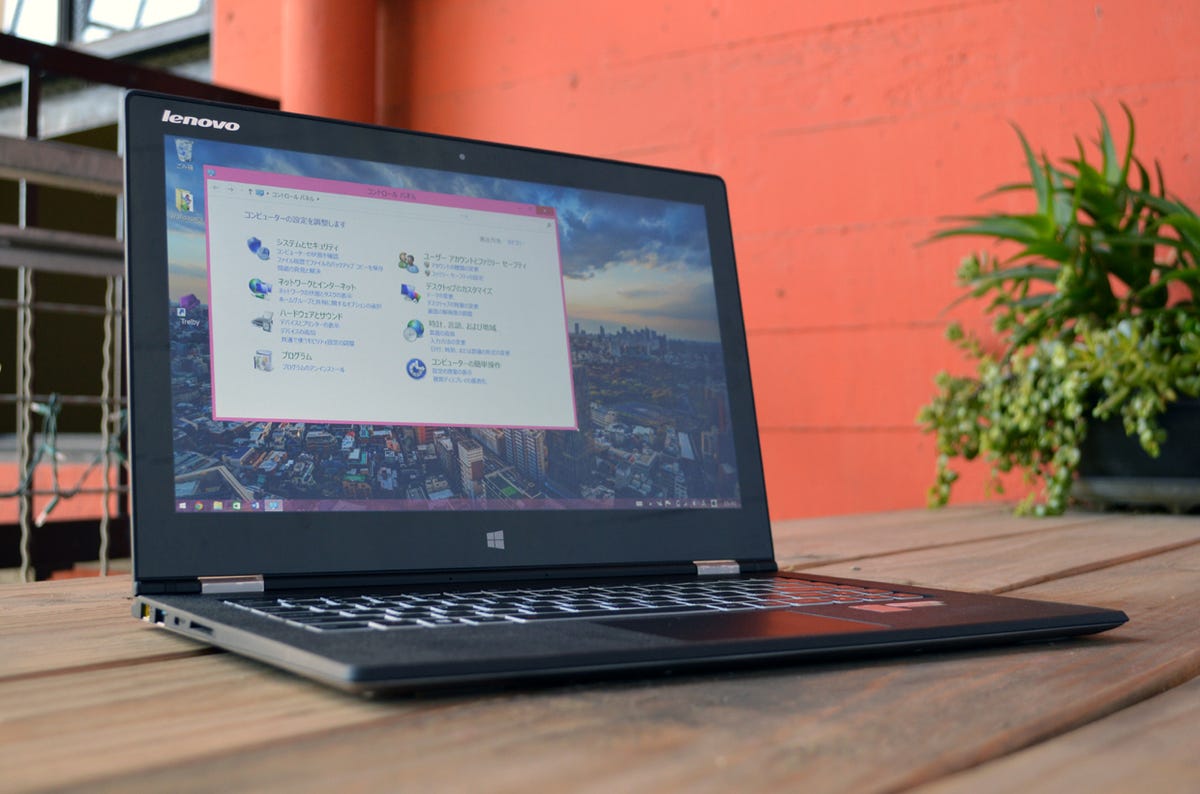
Maybe your co-worker played a prank on you, or maybe you were (recklessly) fooling around with the language settings on your PC. Now your entire computer is in Japanese and you have no idea how to fix it. Here’s how to change your language settings back to English — even if you can’t read enough Japanese to navigate your way around.
Step 1: Get into your PC
If your computer’s language has been changed, you may not even be able to log in to your account if you’re using the wrong keyboard. On the log-in screen, if you have multiple keyboards enabled, you’ll see a small group of letters next to the power button icon in the lower left corner. Click this group of letters to see a list of keyboards; choose the keyboard you want to use to type in your password and log in to your account.
Step 2: Find the language settings

Screenshot by Sarah Jacobsson Purewal/CNET
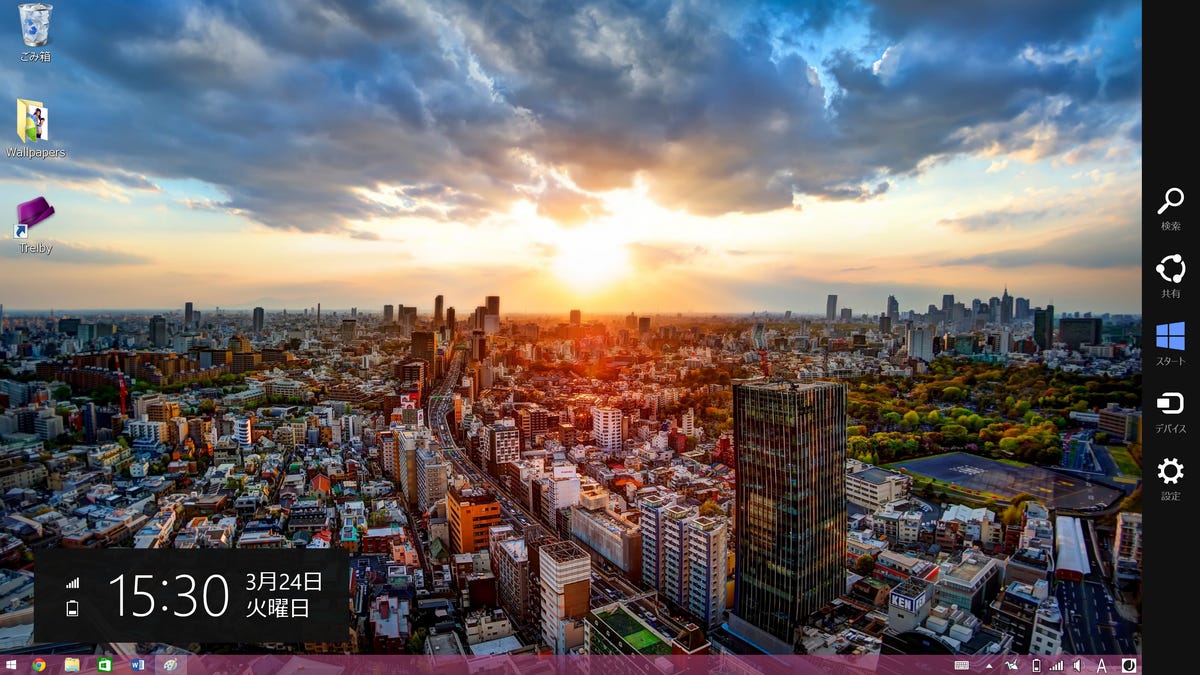
There are a few different ways to get to the language settings, but the easiest way is to open up the Charms bar and hit the gear-shaped Settings icon at the bottom of the list.

Screenshot by Sarah Jacobsson Purewal/CNET
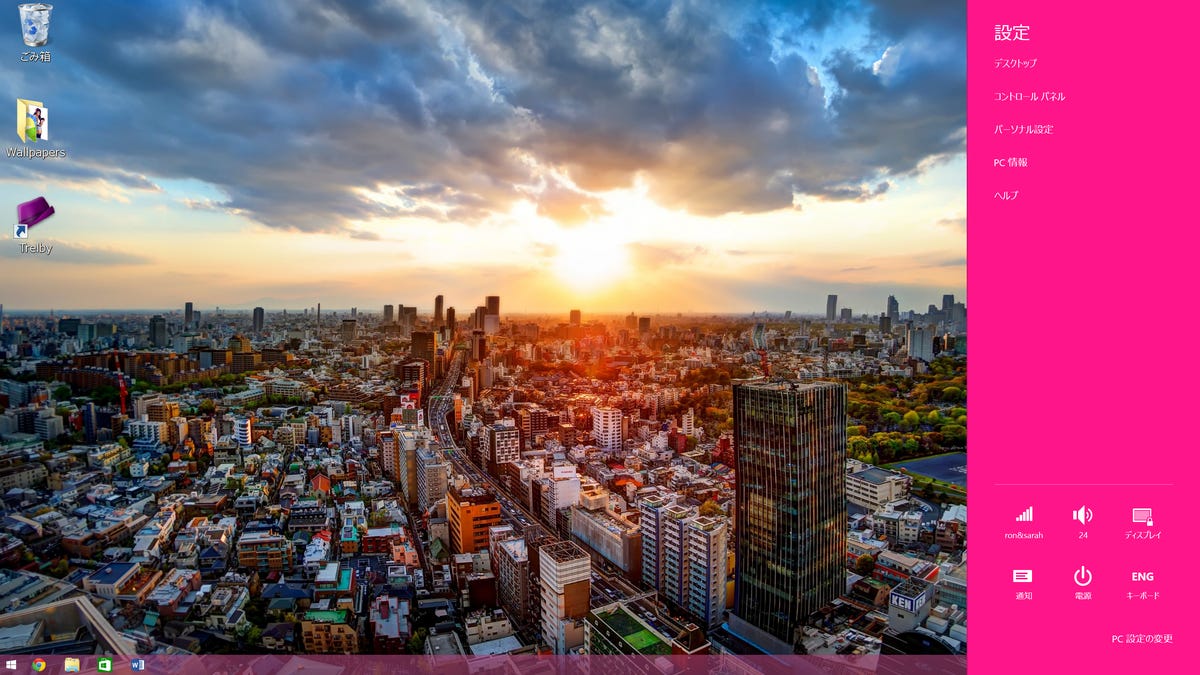
From the Settings sidebar, click the link at the very bottom (under the status icons) to go to the PC settings screen.


Screenshot by Sarah Jacobsson Purewal/CNET
In the PC settings screen, click Time and language (the seventh item in the list) and then click Region and language (the second item in the list).
Step 3: Change the language

Screenshot by Sarah Jacobsson Purewal/CNET
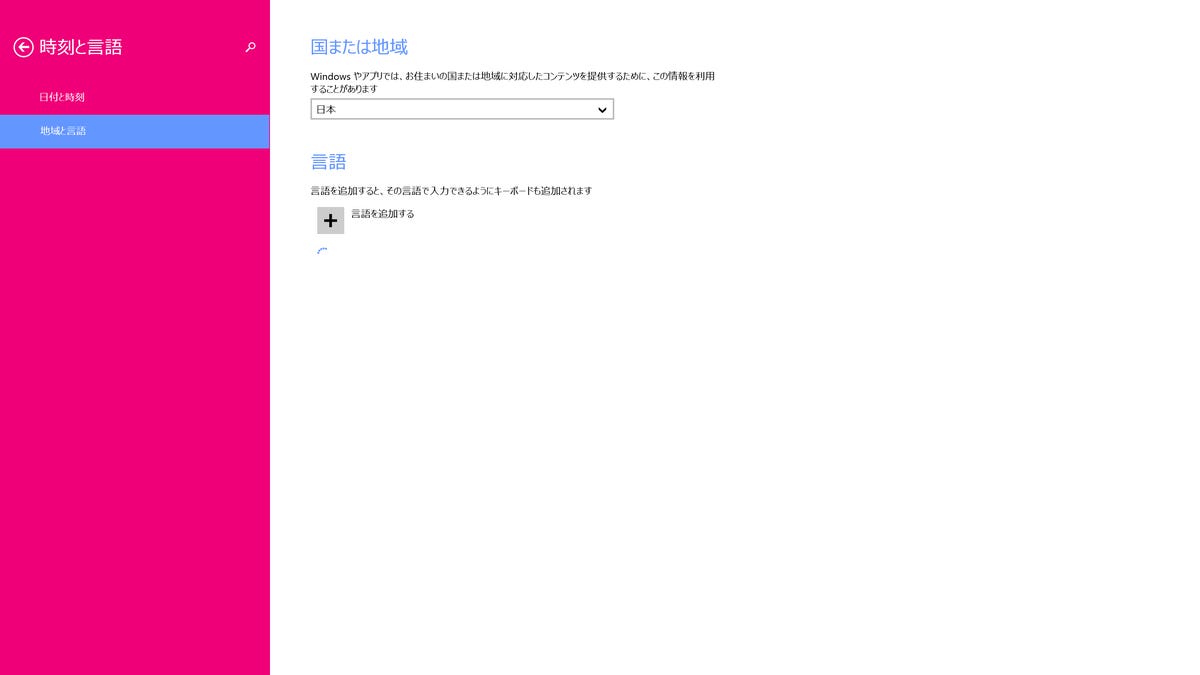
There are two sections in the Region and language menu: Country or region and Languages. To change your language, look under the Languages section (the second section) and find your desired language in the list of languages.

Screenshot by Sarah Jacobsson Purewal/CNET
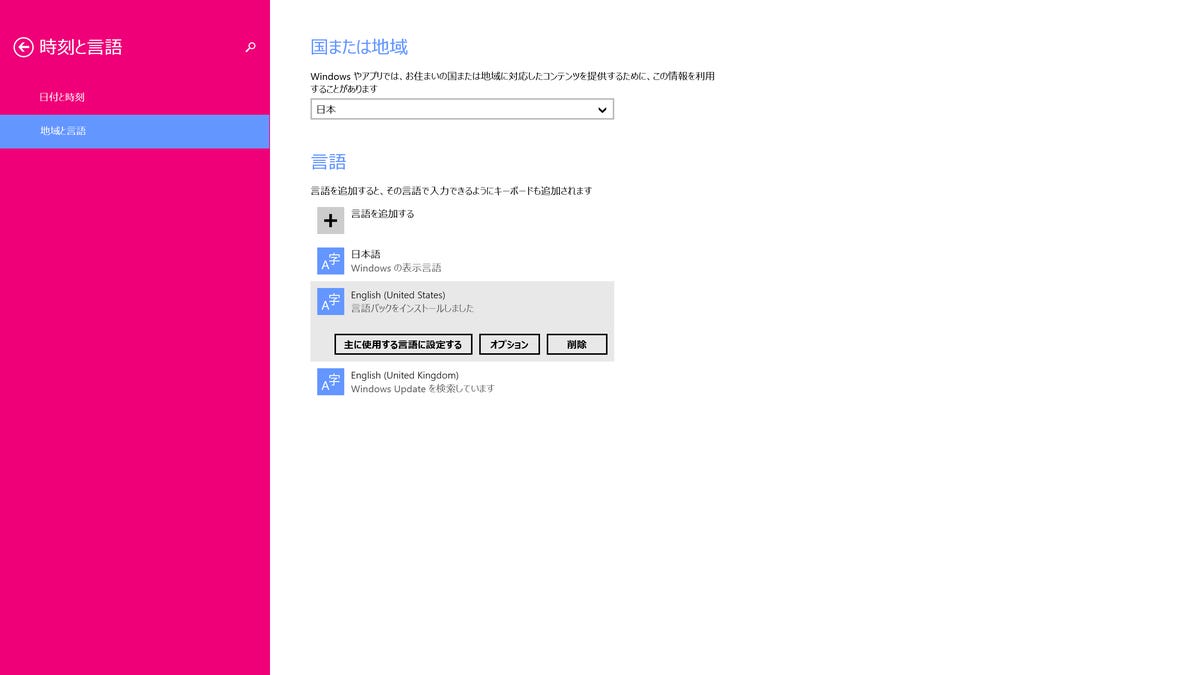
If it’s there, click it and click Set as primary (the first button).

Screenshot by Sarah Jacobsson Purewal/CNET
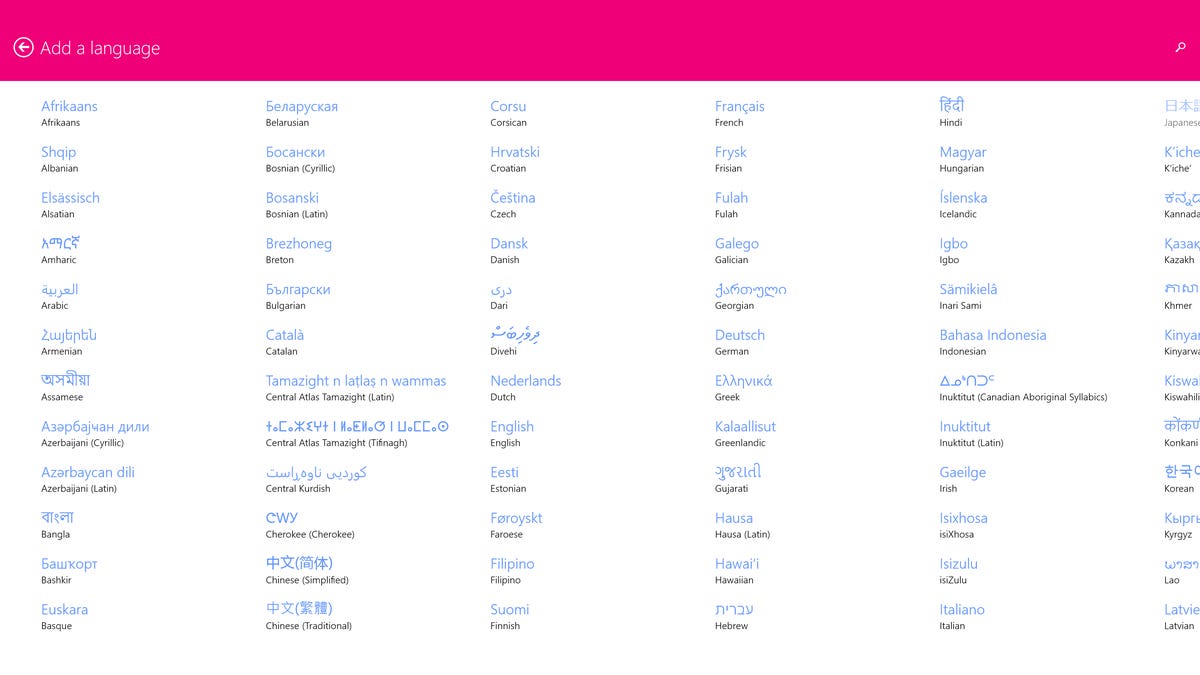
If it’s not there, click the plus sign next to Add a language. A list of languages will open up – find yours and click it to add it to the Languages section. Then click Set as primary to make it your primary language.


Screenshot by Sarah Jacobsson Purewal/CNET
You may need to download an additional language pack, which you can do by clicking Options and then Download. You may need to log out of your PC for the changes to take effect.

