The thought of setting up a brand-new iPad might seem overwhelming, but it’s actually quite straightforward. Whether you’ve secured the latest iPad Pro or preordered the newly announced 2022 iPad Air, Apple will walk you through most of the steps.
However, don’t breeze through those setup prompts too quickly. You may be tempted to immediately start downloading your favorite apps and games, but taking the instant gratification route could spell trouble for the future — whether it’s compromised privacy, a slew of annoying notifications or a busted device.
To set up your iPad for success, here are nine important things to check out.
Get a case
This one isn’t a setting to change, but while exploring all the apps and setting up your preferences is enticing, a cracked screen will put a damper on all your plans. Save yourself $50 in repair fees and safeguard your iPad with a protective case. When I bought my third-gen iPad Air at Best Buy, I picked up a Speck case to go with it. The case has kept my iPad safe despite multiple drops over the last two years. If you’re sporting a newer iPad, you can also find a case with an attached keyboard.
Transfer your data from other devices
During the initial setup process, Apple will ask about transferring your apps and data to the new device. There are a few ways you can do this. You can choose to restore your apps and data from the iCloud, restore from a computer, transfer directly from an iPad, or move data from an Android. You can choose to not transfer your apps and data (you may not have anything to transfer if you just created an Apple ID). Whichever option you go with, Apple will walk you through the next steps.


A sturdy case goes a long way with keeping your iPad safe.
Scott Stein/CNET
Keep your passwords secure
Apple’s password management system is a handy tool to make sure you don’t forget your various logins. This feature is in the Settings app in the left menu bar. If you transferred your Apple ID data from another device, you should see a list of apps and websites where your login information is stored. This can also be enabled during initial setup by turning on the iCloud Keychain, Apple’s native password manager secured with 256-bit AES encryption. There’s also a number of third-party password vault apps to use (check out CNET’s list of best password management apps).
If you’re starting from scratch, you can add passwords to the list by tapping the plus (+) button in the top-right corner or choosing to save the password when you start logging into your go-to sites.
For good measure, tap Security Recommendations under Passwords and make sure Detect Compromised Passwords is turned on. This will alert you if any of your logins appear in known data leaks so you can secure your accounts.
Prevent notification spam
In the Settings app, you can customize notification frequency on your iPad. When setting up a new device, you can tweak the default app settings. As you download other apps, those will appear in this section as well. Tap an app in the list to adjust how and where you see the notifications, whether the notification has an alert sound and how it appears on the lock screen. You can also set app-specific preferences or disable all notifications.


Scott Stein/CNET
Protect your privacy
To customize your privacy settings, open the Settings app and tap the Privacy icon in the left menu bar. The privacy section shows you whether location services are on and if you want to allow tracking permissions related to specific apps and websites. In addition, you can check to see which apps you’ve downloaded have access to your photos, camera, microphone and contacts. Typically, you grant these permissions when downloading an app for the first time, but permissions can be revoked or edited in this section at any time.
Add more fingers to Touch ID
When you initially set up your iPad, Apple will ask if you want to enable Touch ID assuming your iPad has a fingerprint sensor for fast and easy lock-screen security. Just one problem: Sometimes you want to use other fingers. Like, say, the thumb on your other hand, or an index finger when the tablet is laying on a table.
Fortunately, iOS can accommodate up to five fingers. All you have to do is train it to recognize more. To do so, tap Settings > Touch ID & Passcode, then enter your numeric passcode. Now tap Add a Fingerprint and follow the prompts. Repeat the process for any additional fingers you want to add. You can always delete a fingerprint by tapping one of your saved scans and choosing Delete Fingerprint.


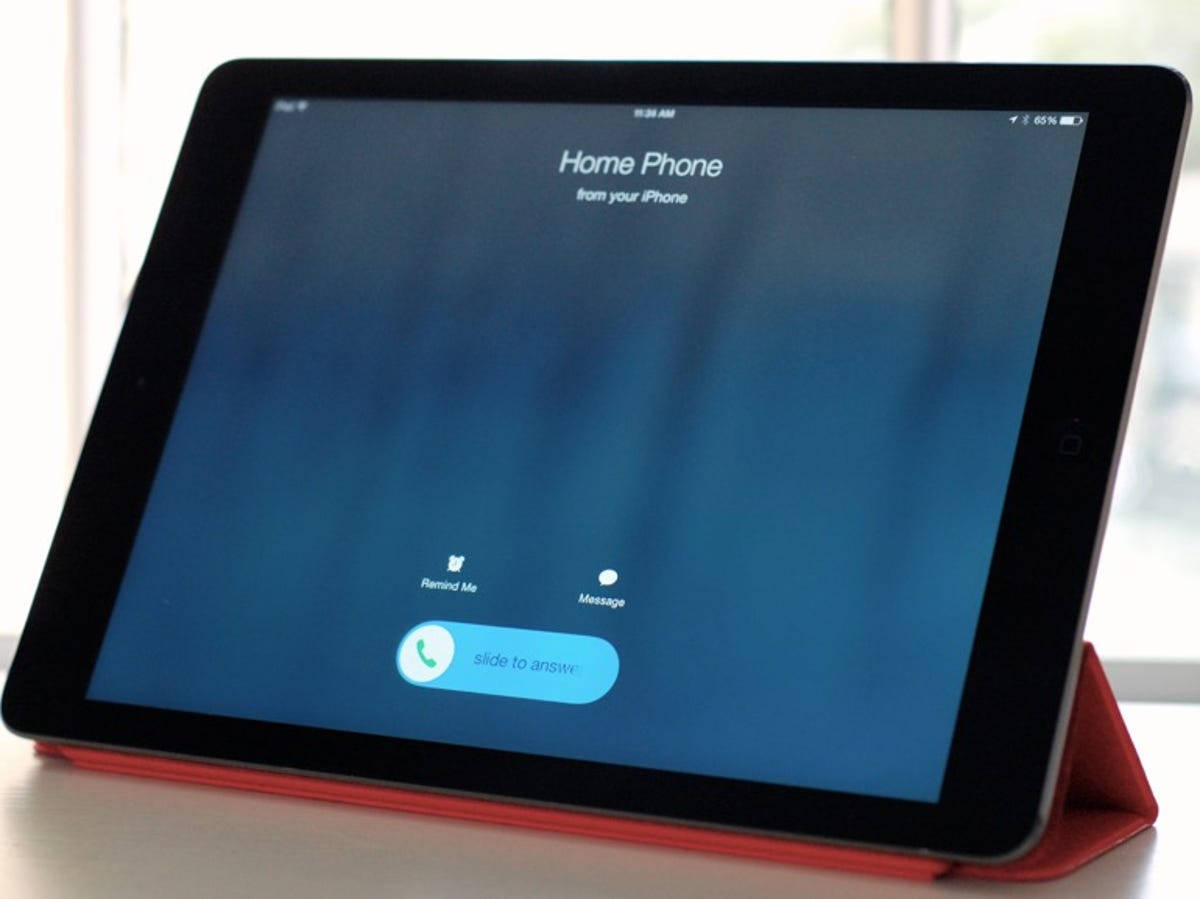
You can disable phone calls on your iPad for less disruption.
Matt Elliott/CNET
Disable phone calls
Sure, it might prove handy to answer a phone call on your iPad, especially if your iPhone is charging in the other room. On the other hand, who wants that kind of interruption when you’re watching a video, playing a game or doing whatever?
Conveniently, it’s very easy to disable this feature: Go to Settings > FaceTime and tap the toggle switch to turn off Calls from iPhone. You don’t have to worry about this if you don’t have cellular on your iPad.
Know how to find your lost iPad
iPads don’t tend to go missing as often as iPhones, but loss and theft can happen. That’s why the Find My iPad option is useful. By default it should be, but check anyway — and make sure you know the finer points of using this feature.
Open the Find My app (on your device by default) and select your location permissions. You should then see a map (most likely your current location if you’re setting this up for the first time) and little icons of connected devices. Tap the device icon to open an information panel. You can enable notifications if the device is lost or found, as well as play a sound to help you find it. If your iPad winds up not being wedged in the couch cushions, you can mark your device as lost by tapping Activate in the panel and following the prompts.


Enabling the Find My app can help track down your missing iPad — even if it’s just lodged in the couch cushions.
Scott Stein/CNET
In the event that your iPad is truly lost, you can choose to erase all the data remotely. Just tap Erase This Device in the panel. The only downside is that your iPad must be online in order to share its location, play a sound, enter Lost Mode or get remotely erased. So try your best to lose your tablet while the battery’s still charged.
Tweak the size of text
iPads screens have gotten bigger, but sometimes text can still be difficult to read. Fortunately, it’s easy to adjust the size of the system font. Tap Settings > Display & Brightness > Text Size. Then drag the slider a few ticks to the right until you’re happy with the size. You can also decrease the font size by dragging in the other direction and toggle on bolded text. Whatever works best for your eyeballs!
As noted on that settings page, this change will affect only those apps that support Dynamic Type (meaning stock iOS apps and a smattering of others). You can also improve readability by tapping Settings > Accessibility > Display & Text Size to fine-tune your customization. If you don’t want to overhaul your settings, you can also check out the iPad’s Zoom feature – which works like a magnifying glass for your screen.


Now playing:
Watch this:
Apple Updates iPad Air With M1 Chip
7:35


