So you’ve heard of the Nexus 7 and you’re interested in buying one. And who wouldn’t? This powerful 7-inch quad-core Android tablet, which runs the very latest version of Google’s operating system, Jelly Bean, dramatically undercuts the prices of competitor tabs, at just £160.
Once you’ve got it in your palm, you’re going to want to get the best out if it, and that’s what this guide is all about. While popular opinion says this mini tablet was made to compete with the Amazon Kindle Fire (which has yet to be launched in the UK despite selling in the US since autumn 2011), more than the Apple iPad, the Nexus 7 is far more versatile.
When you first activate your device
1. Setting up your Google accountAs part of the set-up guide built into the Nexus 7, you’ll be asked to enter your Google account details, or create a new one. You can, of course, use your tablet without an account but you’ll have access to more services with one.
2. Install Jelly Bean 4.1.1Within an hour of activating your shiny new tablet, you’ll be offered an update to the very latest operating system. Just tap ‘OK’ on this and the ensuing prompts and sit back while it takes care of business.
3. Get your freebiesThe Nexus 7 comes with a few digital freebies. As you open the Play store client, you’ll be notified that you have £15 credit to spend on anything you like, such as apps, books or movie rentals. Speaking of which, while we in the UK can’t purchase films on Google Play, Nexus 7 owners are given Transformers 3: Dark of the Moon (to be streamed) in the Play Movies application.
4. Set your screen brightnessIf you go into the Settings application and tap ‘Display’, you’ll find a slider where you can manually set the screen brightness or choose to have the brightness adjusted automatically. Reducing the brightness will save power but will obviously make it harder to see. Bear in mind that the Nexus 7 uses an LCD screen, so using dark colours will not save energy as it would on an OLED display. Read this guide if you’d like to squeeze more battery life out of your Google Nexus 7.
5. Download offline maps
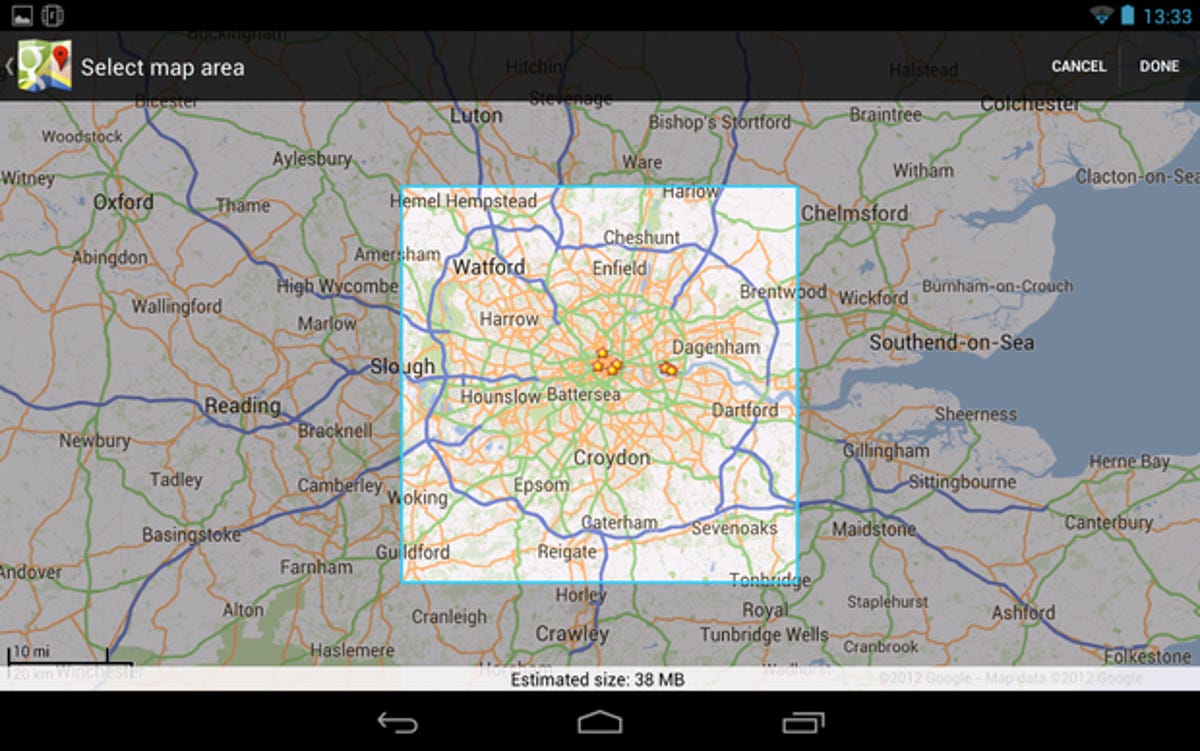

The Nexus 7 has GPS and comes with Google Maps navigation, but it doesn’t have a mobile data connection. So, while you’re connected to your home Wi-Fi, find the offline maps option and download areas that you’ll likely be travelling in.
6. Choose your widgets
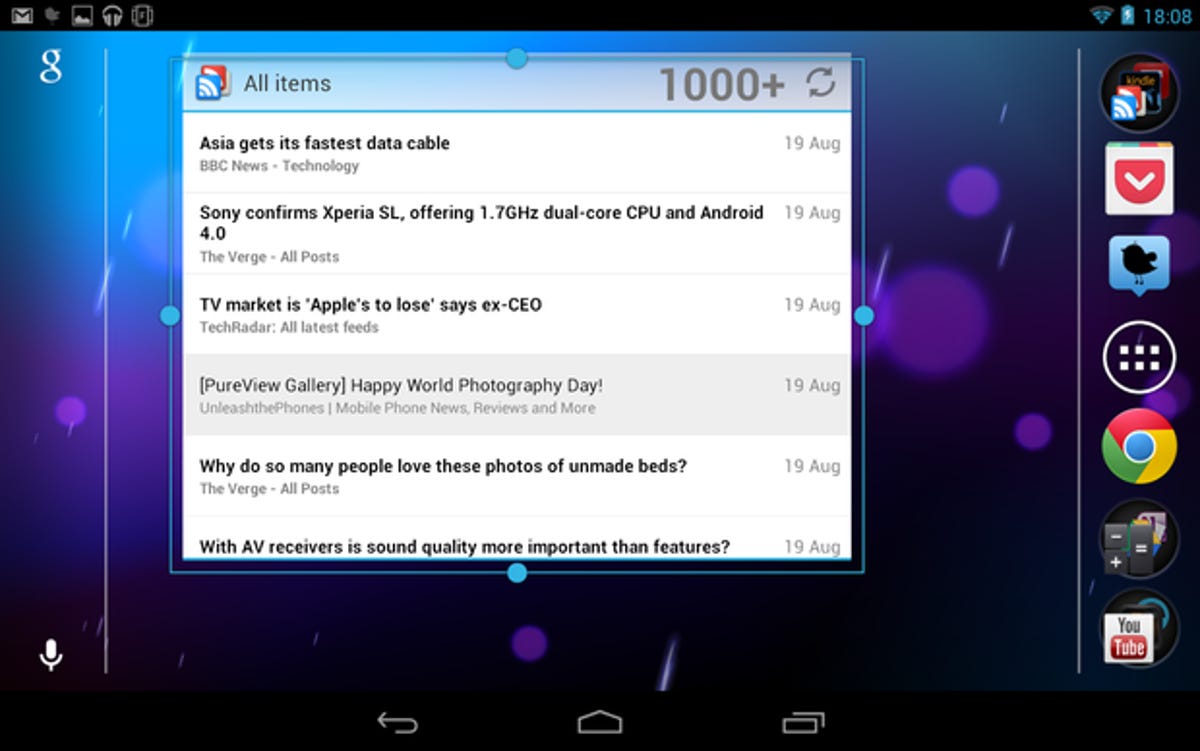

The Nexus 7’s user interface is much like that of any Android phone and includes five home screens. Open your app grid, and browse through the widgets by tapping the corresponding tab at the top. Once a widget is placed, a long-press allows you to reposition it, and if the widget has a blue outline while being moved, it can also be resized (see above).
Essential apps
7. Rotate your home screen
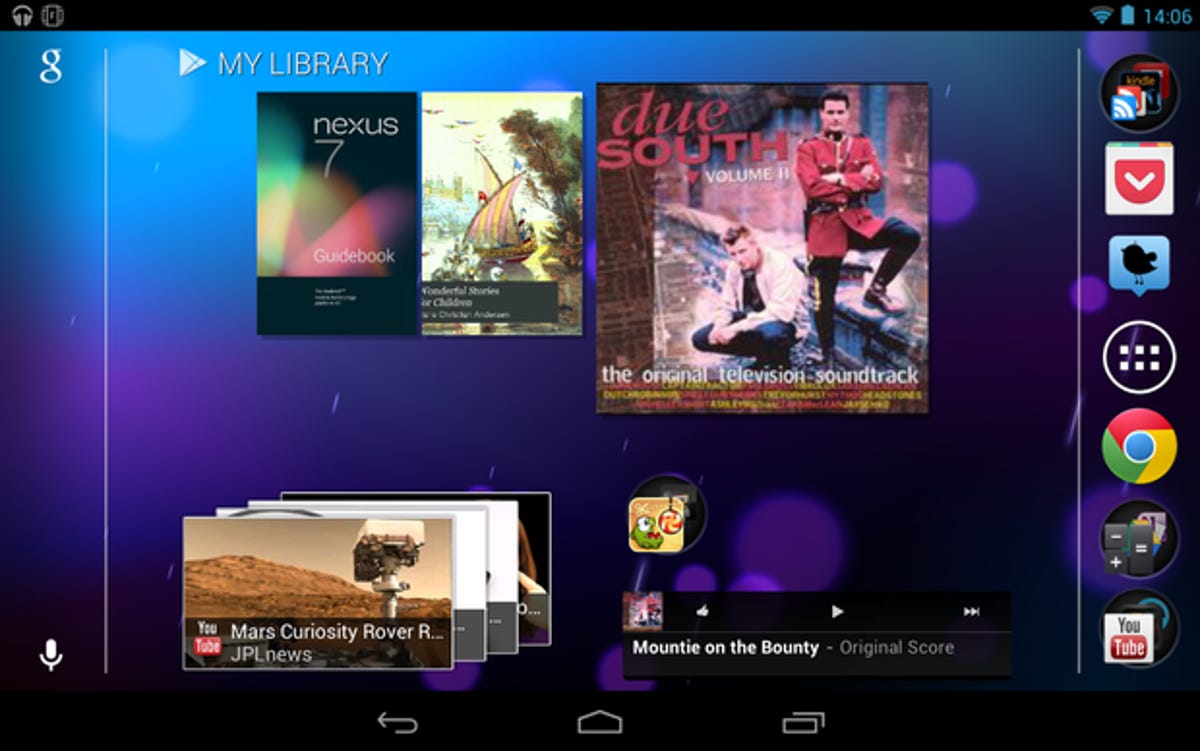

The Nexus 7’s home screens are fixed to portrait orientation, even though other apps will rotate. Install Rotate to give you full rotation control over home screens and apps.
8. Camera Launcher for Nexus 7
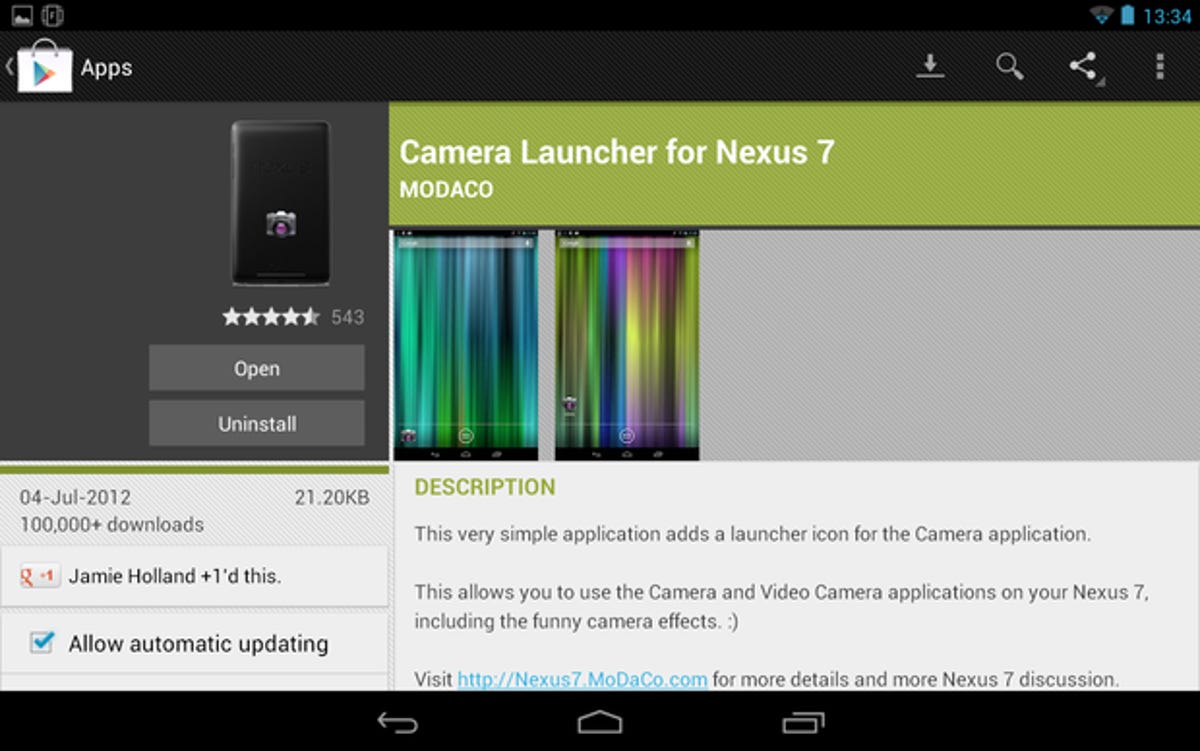

Because the Nexus 7 doesn’t have a main rear-facing camera, the Android camera app has been hidden. If you want to take photographs and video with the front-facing camera, you’ll need the Camera Launcher for Nexus 7 by Modaco.
9. Backup your AppsIf you ever have to reset your Nexus 7, it will be a problem to remember all of your apps. If you install AppBrain, you can synchronise a list of all of your apps to the cloud, which you can recall after you reset your device.
10. Make calls with SkypeThe Nexus 7 isn’t a mobile phone, but you can install Skype to make voice or video calls with the front-facing camera.
11. Install an office suiteWhile you can install Google Drive and edit your documents in the cloud, it requires a constant Internet connection, which isn’t always possible. There are plenty of offline office suites on the Play store and it’s worth investing in one if you need to work on the move.
12. Amazon KindleWhile Google is keen to push its own ebook platform, Amazon Kindle is the ebook brand available on the most platforms, and you may already be a Kindle customer.
13. Even more reading appsThe Nexus 7 is an ideal size to use as a reading device — and not just for ebooks. If you want to read saved articles, get Pocket. To access your news feeds there is Google Reader, and if you like your news to be more curated, then try Flipboard or Google Currents.
14. Social networksWhether you want to keep track of what your friends are doing, or share all the great content you’re discovering with your Nexus 7, you’ll need social networking apps. Google Plus comes pre-installed, but if you want to use the other social networks, then grab Twitter, Facebook, TweetDeck or TweakDeck.
Setting up for entertainment
15. Use Google Music
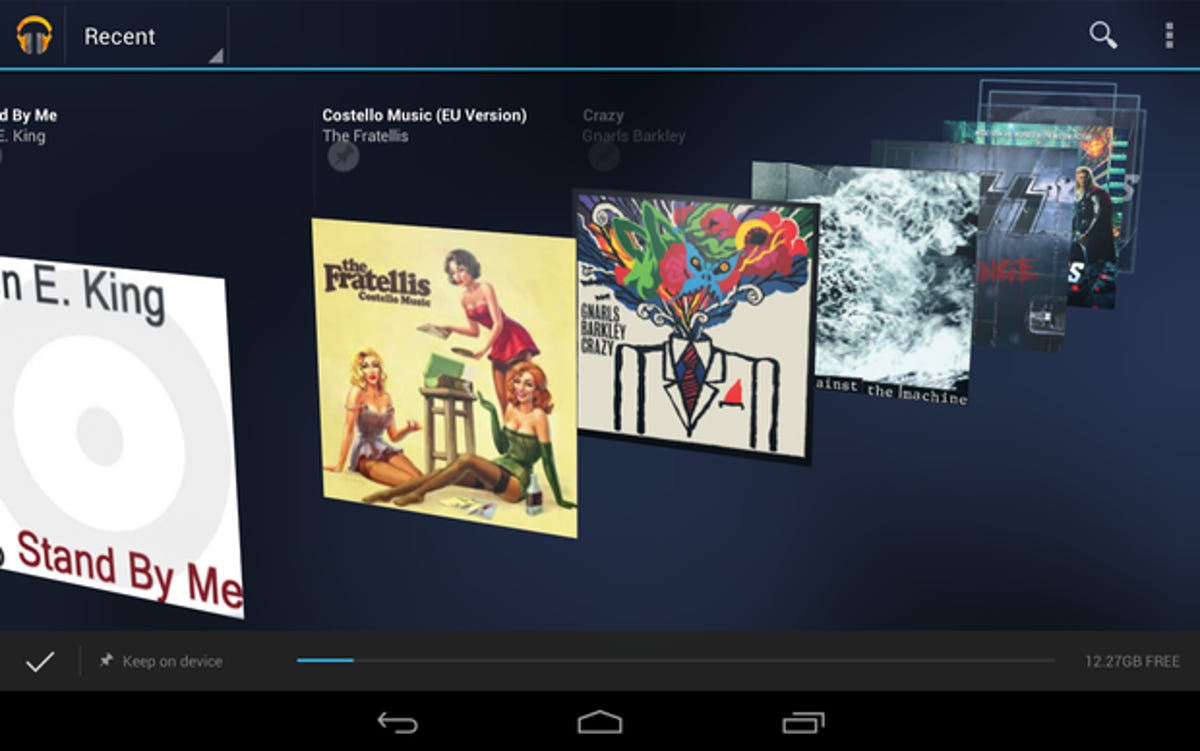

The built-in Android music app is Play Music. Not only can it play music stored on your device, it can also stream tunes you’ve stored in the cloud. Visit the Google Music help page to find out how to upload tracks from your computer (PC/Mac/Linux) to your Google account.
16. Alternative video playersThe Play Movies application has relatively poor support for the range of video formats you may already have in your collection. To view content you already own, there are third-party players out there that can turn your Nexus 7 into a great little video player: VPlayer, DicePlayer, MX Player and also the official Plex app.
17. Sync with your desktop
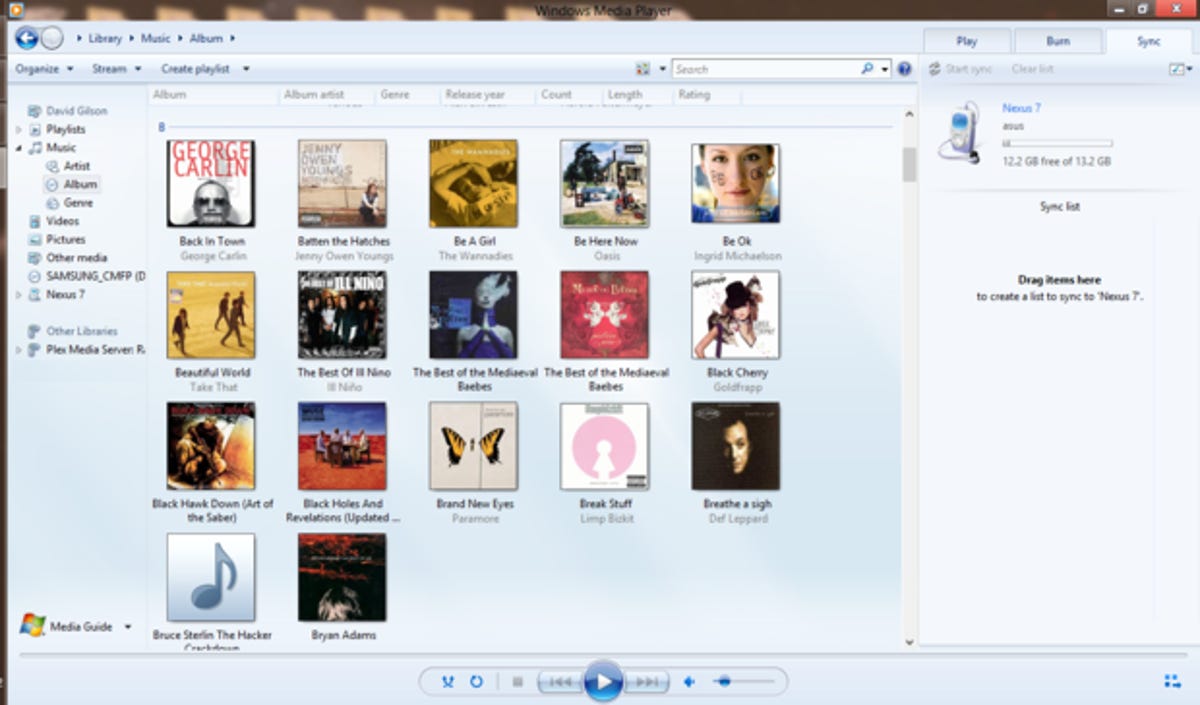

Unlike earlier Android devices, the Nexus 7 will not appear as a USB mass storage device. Instead, it appears as a ‘Media Transfer Protocol’ (MTP) device. Windows has native support for this and most music applications on Linux support this protocol too. If you use a Mac, you’ll need the Android MTP agent. Windows users can use Windows Media Player to detect their Nexus 7 and transfer music, though many third-party apps support this as well.
18. Turn the Nexus 7 into a DLNA serverOne criticism levelled against the Nexus 7 is that it does not have an HDMI port for playing content on a TV set. One way around this, if you have a DLNA-compatible TV, is to install a DLNA server application (such as BubbleUPnP). Then you can use your TV to wirelessly browse and view all of the content you’ve stored on your Nexus 7.
Accessories to buy
19. USB keyboard and host cableYou can use the Nexus 7 as a work tool. If you can find a USB host cable (that is, a micro-USB to female type-A adaptor, also known as USB OTG), the Nexus 7 will allow you to plug in an ordinary keyboard.
20. Bluetooth keyboardIf you prefer a wireless solution, the Nexus 7 supports Bluetooth input devices, and so any Bluetooth keyboard will work with this tablet too.
21. A tablet stand
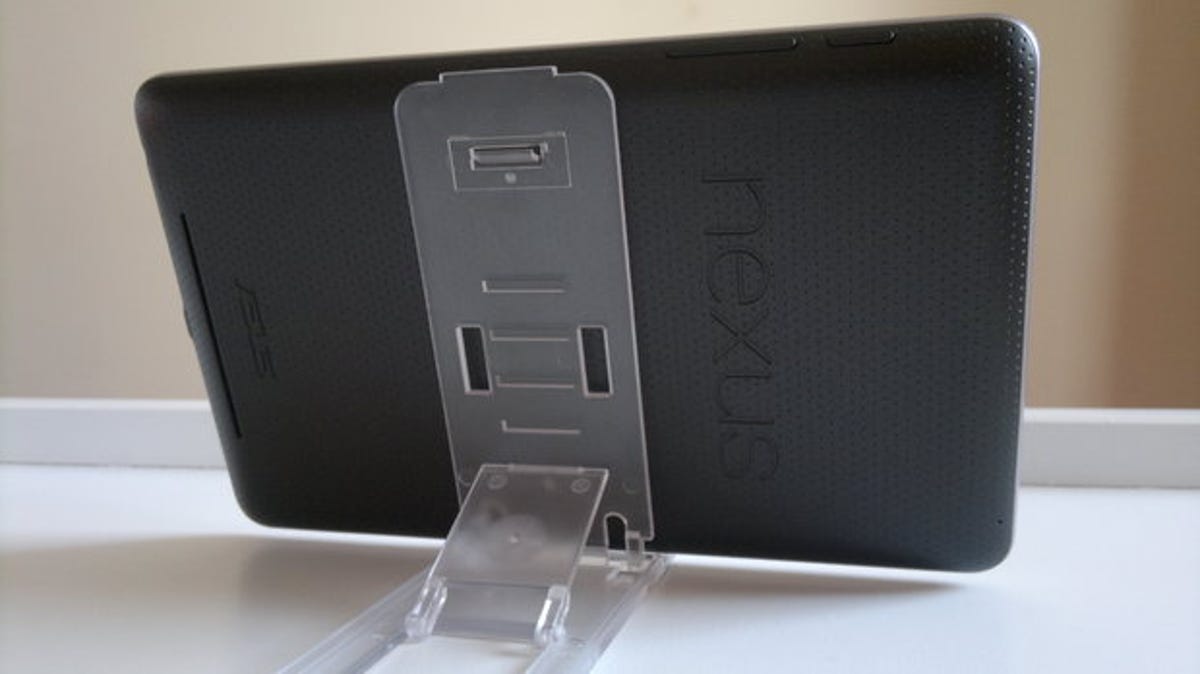

Unless you buy a keyboard that will also hold the tablet in an angled position, you’ll need something to prop it up while typing, or even watching videos. There are plenty of inexpensive iPad stands on eBay that will work perfectly with the Nexus 7. I use one of these.
22. CasesIf you intend to carry your Nexus 7 around, you need something to protect it. While it’s still early days for the accessory market, you can already find a range of items, from foam pouches to leather folio cases. If you need to work on the move, you might want to wait for the release of the official Bluetooth keyboard case though.
23. Stylus
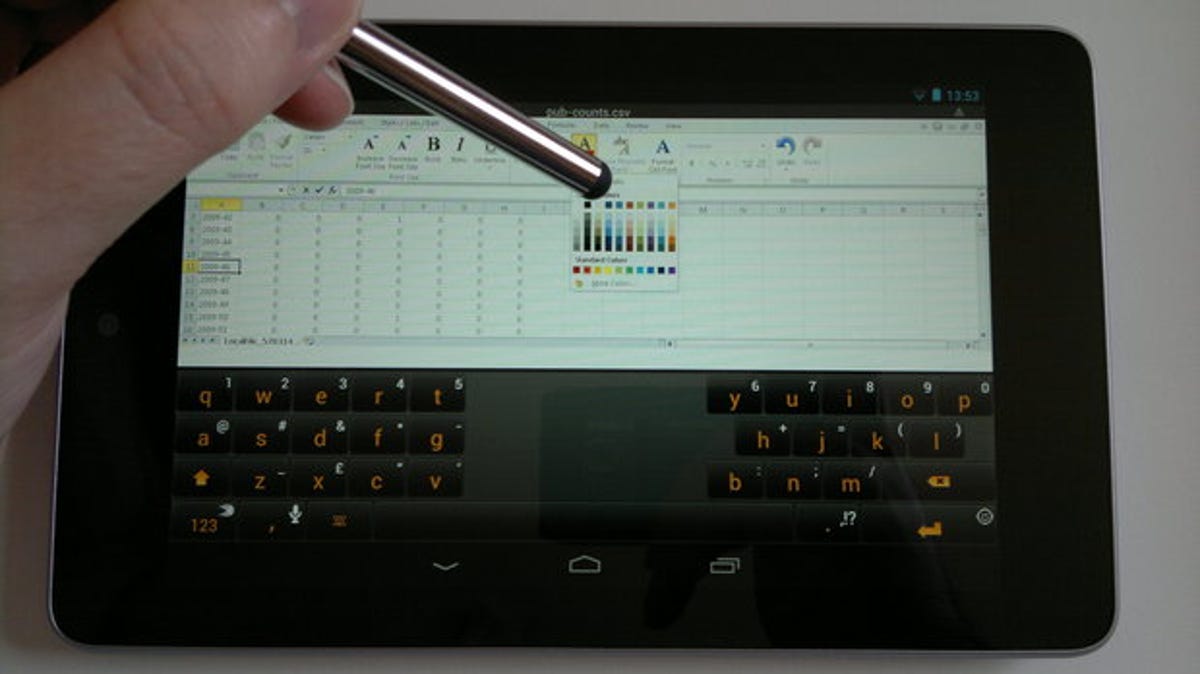

Another handy tool to help you work quickly on your tablet is a capacitive stylus. While using a finger is simple and visceral, a stylus can give you a little more speed and precision if you have a lot of work to do.
Power user tips
24. Enable Developer Options
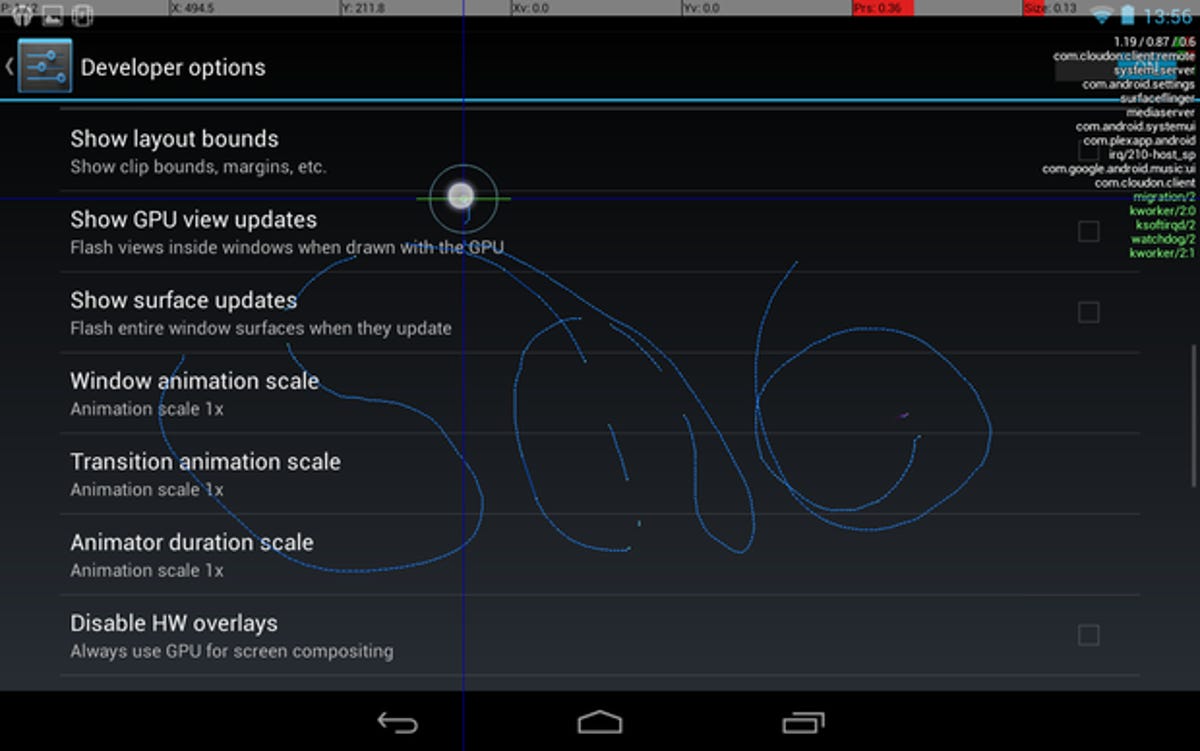

If you’re curious about how your tablet actually works, delving into this area of the Settings application reveals all sorts of interesting activity. For example, it can display how Android processes touch inputs, or overlay on screen the current CPU processes.
25. Root your Nexus 7By granting yourself ‘root’ privileges on your device (this may void your warranty), you can run a whole new range of applications that won’t run on ‘vanilla’ Android devices, such as mounting a USB flash drive, changing your ROM or installing ad blockers. Check out this guide if you’d like to root your Google Nexus 7.

