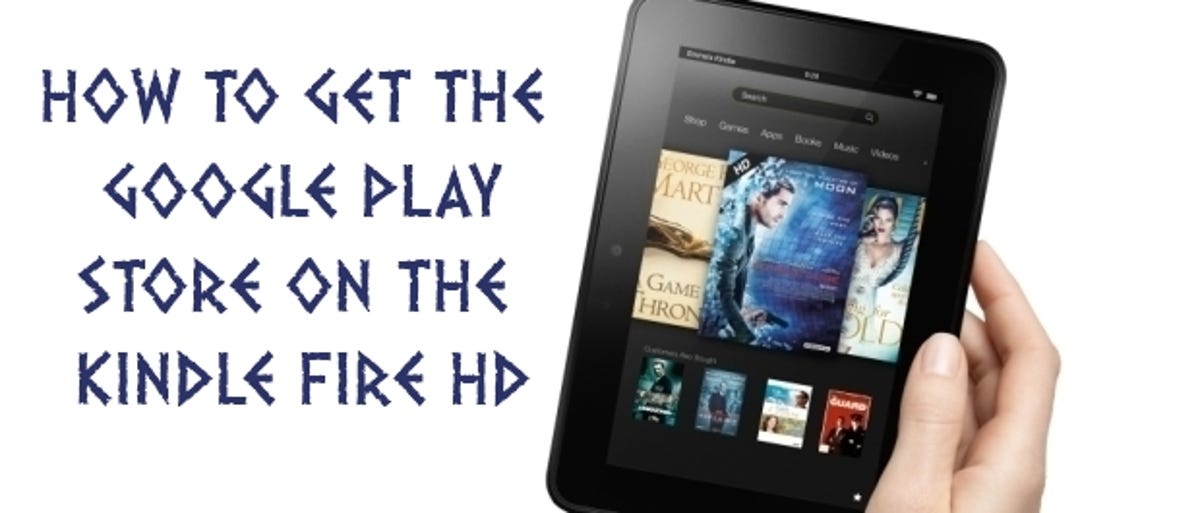
There are plenty of complimentary things you can say about the Kindle Fire HD. “It has a stellar collection of apps,” unfortunately isn’t one of them. Amazon has customised Android to within an inch of its virtual life and banished Google Play in favour of its own Amazon Appstore. Take a stroll down its digital aisles and you’ll find the selection somewhat underwhelming — there’s no Gmail, no Dropbox, no Instagram.
The good news is you can get access to Google Play and everything within it, as long as you don’t mind a little bit of hacking. When I say a little bit, I mean it will instantly void your warranty with Amazon.


As with any advanced customisation of this type, CNET can’t be held responsible for your exploits. Nevertheless, the changes aren’t difficult to make and you shouldn’t run into any problems that can’t be solved with a quick Google query and some poking around on Android forums.
First and foremost you’re going to need a rooted Kindle Fire HD, otherwise Google Play won’t be able to access the key system files that it needs. The best place to learn how to do this is the guide I previously published. You’ll also need to install the USB drivers for your Kindle Fire HD, which we covered in the same article. Once that’s done, you can press on.
1. Collect your files
Google Play interacts with your device on a pretty fundamental level — it needs to know who you are, which apps you’ve installed and how you’re going to pay for them, for instance. With this in mind you’ll need to copy some essential files over to your Kindle before installing the Play Store app itself.
Not for the first time, I’m indebted to the Android community for the files required — visit this thread and download the archive package listed in step 2 of the first post. Extract these files to a folder on your system that you can easily access.
If you’ve not already done so, install ES File Explorer on your device. This is available from the Amazon App Store and enables you to easily transfer files and launch applications. You’ll also need to make sure two key Kindle settings are turned to ‘On’ in the Settings — ‘Allow Installation of Applications’ (on the Device screen) and ‘Enable ADB’ (on the Security screen). Everything should now be ready to install Google Play.
2. Transfer and prepare
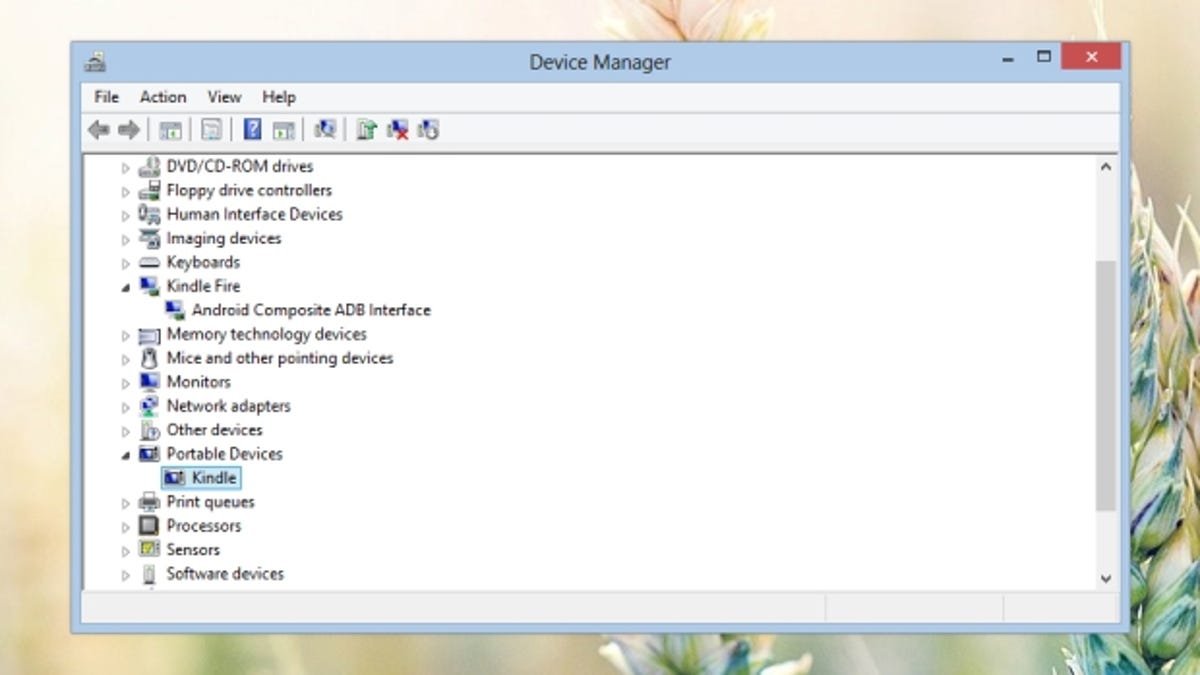
Connect your Kindle Fire HD to your computer and it should appear as two separate entries in the Device Manager section of Control Panel (see the screenshot below). If it doesn’t, return to my earlier article and retrace your steps. If you didn’t use this guide to root your device, pay particular attention to the USB drivers section.

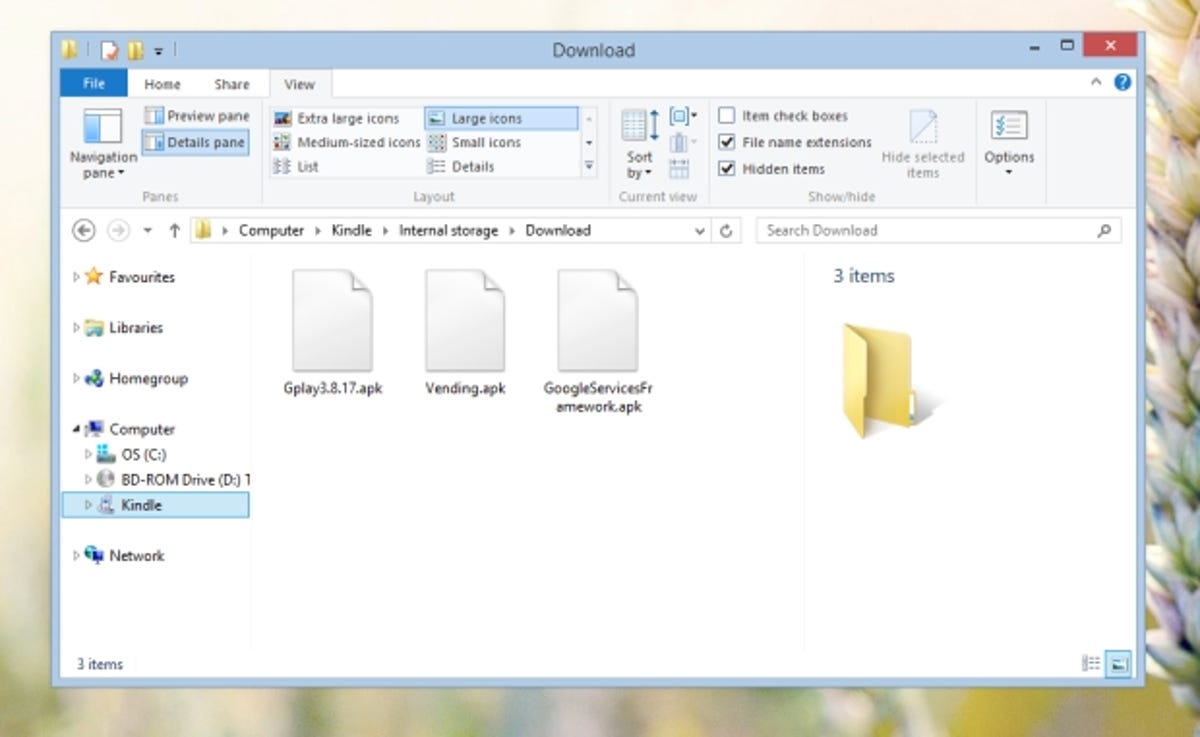
Using Windows, copy the three files we downloaded earlier — namely Vending.apk, GoogleServicesFramework.apk and Gplay3.8.17.apk — over to the Download folder on your Kindle.

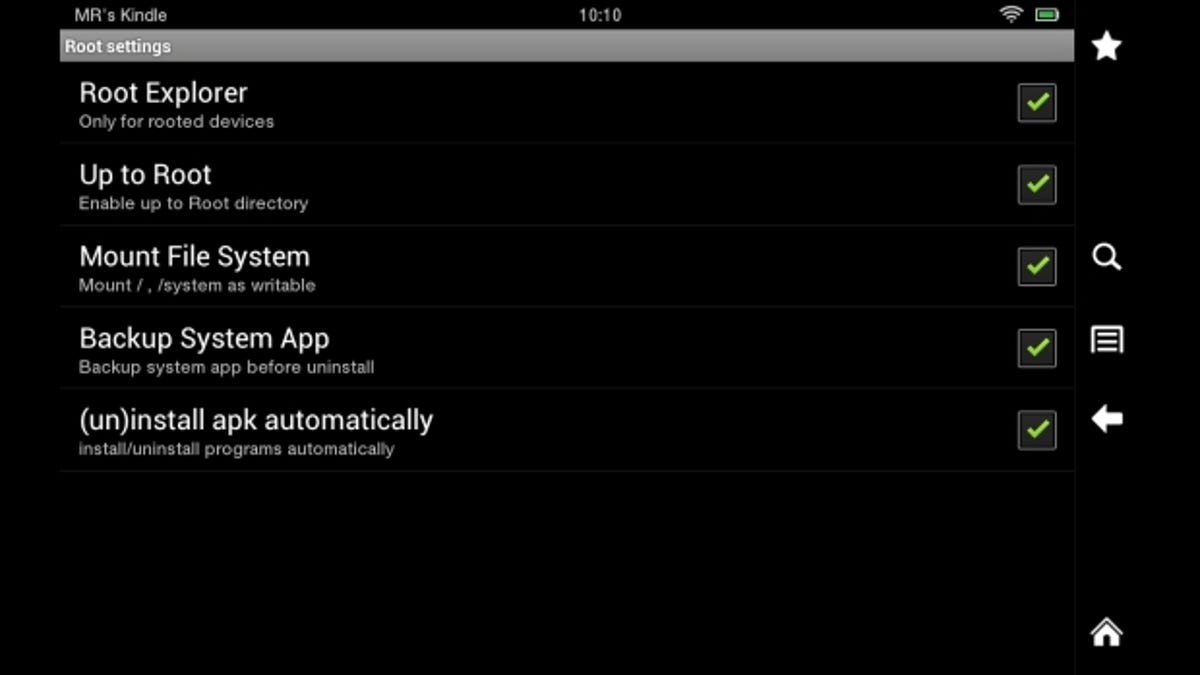
Next, launch ES File Explorer on your Kindle Fire HD. Tap the menu icon and choose ‘Settings’ then ‘Root Settings’. Tap the check box by ‘Root Explorer’, then ‘Yes’ and ‘Grant’ on the dialogue boxes that appear. Tick all of the boxes on screen, if they’re not already — Root Explorer, Up to Root, Mount File System, Backup System App and (un)install apk automatically. If you cannot follow these steps as described, it’s possible your device hasn’t been properly rooted.

3. Go go Google Play
Return to the file view in ES File Explorer and head to the Download folder, where we copied the APK files earlier. Tap GoogleServicesFramework.apk to install it (you’ll see a brief confirmation message), then tap the ‘Select’ icon to enable you to select files rather than launch them. Tap Vending.apk, then tap the ‘Copy’ icon. Navigate to the /system/app folder (you’ll need to go up to the root folder first) and paste Vending.apk in. Reboot your Kindle Fire HD.
Back in ES File Explorer, long press on Vending.apk in /system/app. Choose ‘Properties’ then tap the ‘Change’ button — make sure read and write are checked for User, and read is checked for Group and Other. Tap ‘OK’ twice to clear the dialogues, then tap Vending.apk to install it.
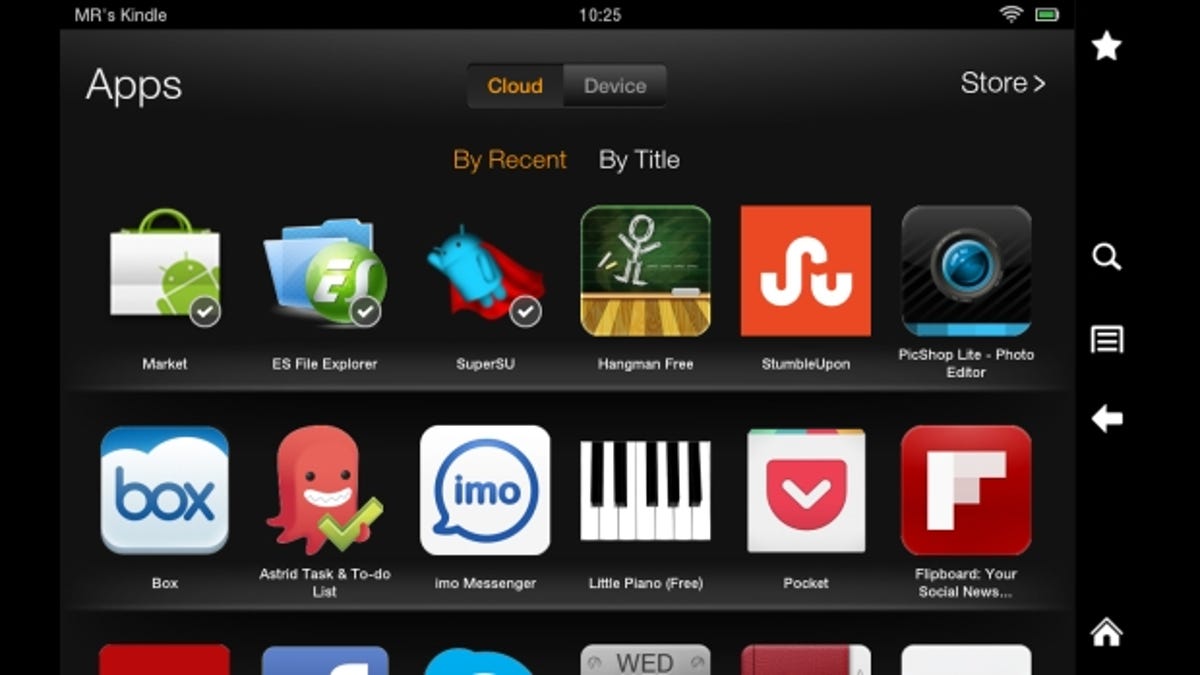

Exit ES File Explorer and launch the main Apps link from the Kindle Fire HD home screen. Tap the new Market app and sign in using your Google Account credentials. It’s important that you sign in using the older Market app first — if you encounter a ‘Can’t establish a reliable data connection to the server’ message, try rebooting the Kindle and/or disconnecting and reconnecting to your Wi-Fi signal.
If you’ve activated two-step verification on your Google Account (and you really should), you’ll need to visit your account security page on the Web to generate a specific one-use password for the Market app, rather than using your standard Google password.
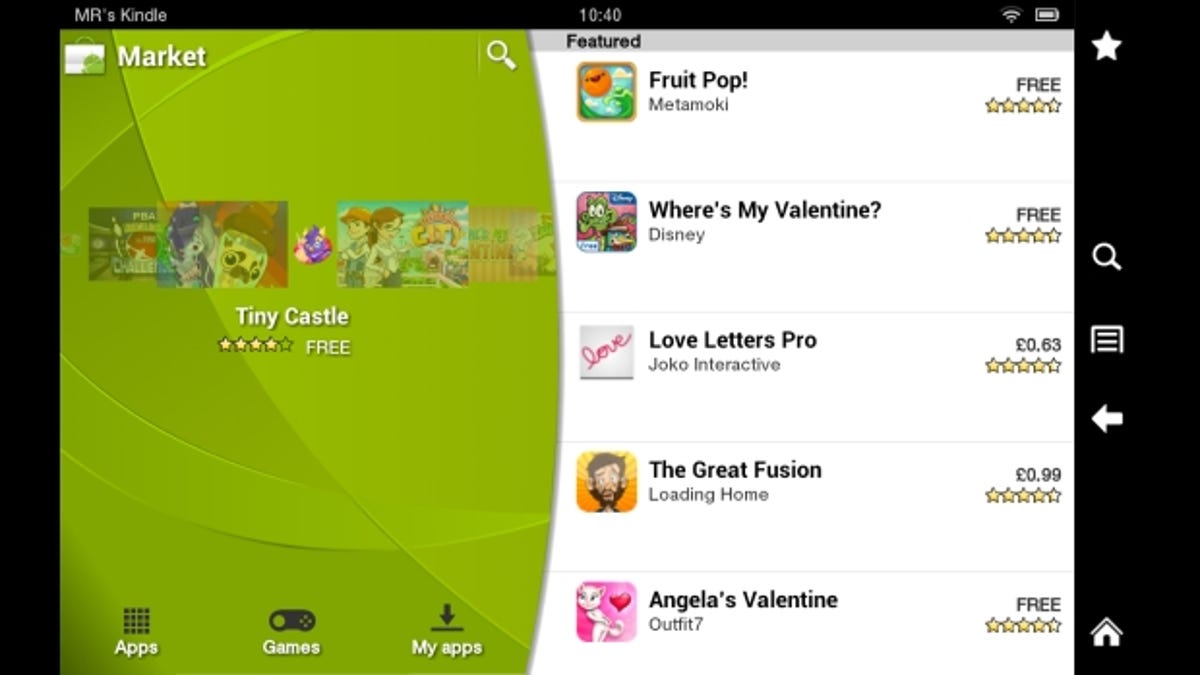

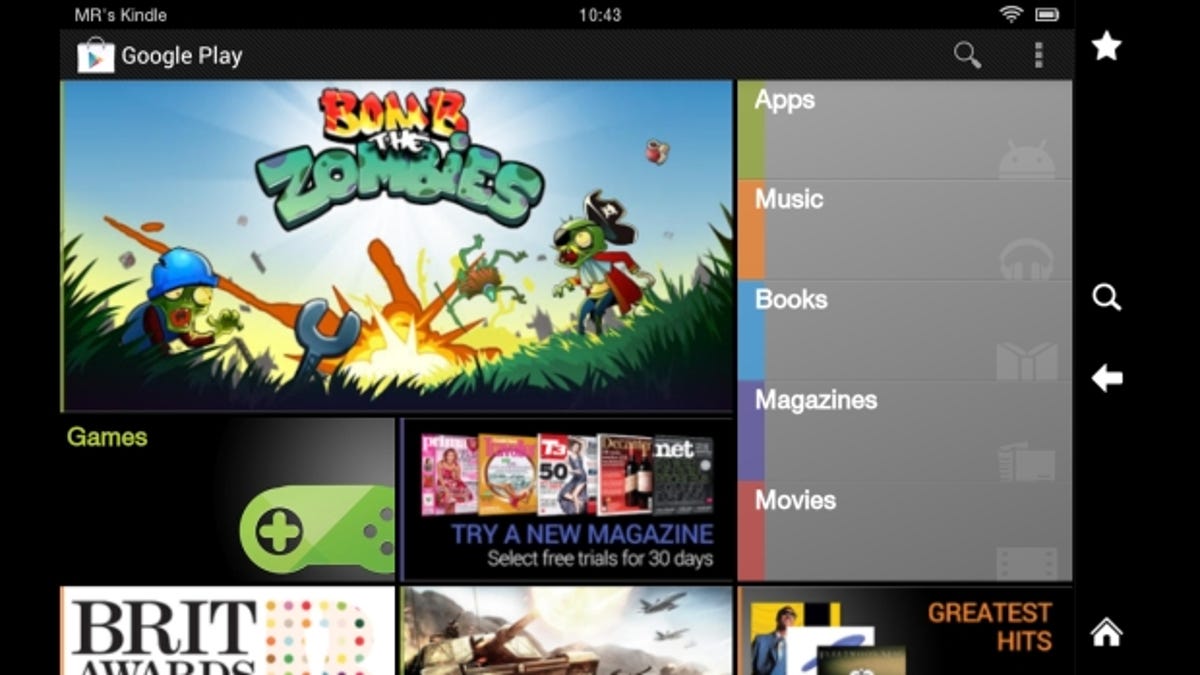
If everything has worked, you should be met with an old-fashioned Android Market screen. To upgrade to the latest version of Google Play, head back to the Download folder in ES File Explorer and launch the last APK file, Gplay3.8.17.apk. Google Play can then be launched from the Apps page on your Kindle Fire HD. Happy downloading!

A few footnotes: the steps above should work with the latest versions of Windows (7 and 8) and the most up-to-date Kindle Fire HD firmware, but this is not an exact science. Some apps may not install because they think they’re incompatible with your Kindle Fire HD — you can still load them using another Android device or an emulator (this forum thread is a useful guide).
In addition, a future Kindle firmware update may break the customisations you’ve made — an app such as DroidWall can be used to prevent these updates from happening automatically.
Finally, I’d like to thank the dedicated Android enthusiasts at Phandroid (particularly those contributing to this thread) for the hard work and instructions that contributed to much of this guide.


