Lexy Savvides/CNET
A simple way to spice up portraits and landscape photos is to use a prism.
Thanks to its refractive properties, placing a prism in front of a camera lens can produce some unexpected and creative effects.
What you need:
- Any camera, but a dSLR and prime lens is ideal
- A prism. You can buy these relatively cheaply on sites like Amazon or eBay
Sam Hurd is a wedding photographer based in Washington, DC. He has helped pioneer the “prisming” technique, creating many of his images by shooting through an equilateral 6-inch prism.
Hurd recommends using a wider prime lens such as a 24mm or a 35mm with your dSLR, but even a 50mm will work.


Sam Hurd
There are no hard and fast rules when it comes to creating prism photos; it’s about experimentation and working with available light to create the look you desire.
Start by holding the prism in front of the camera lens. Although you can compose photos through a viewfinder, switching on Live View will give a big, bright look at the scene. Make sure your camera has exposure simulation turned on when using Live View, so you can see what the final photo will actually look like.


Sam Hurd
Start by using a fairly wide aperture which will let in the most light to the lens. Stop down as needed depending on the ambient light situation.
Twist, rotate and slide the prism up and down the lens depending on where you want the distortion to appear.
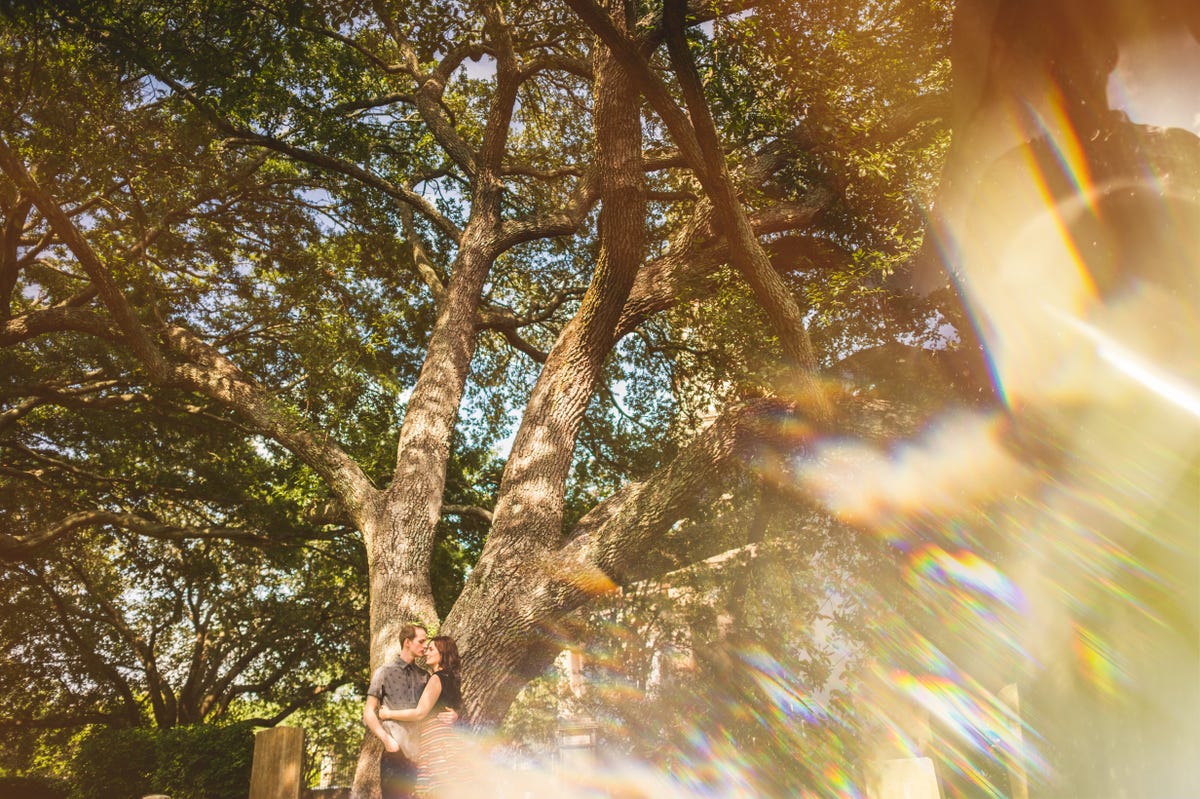
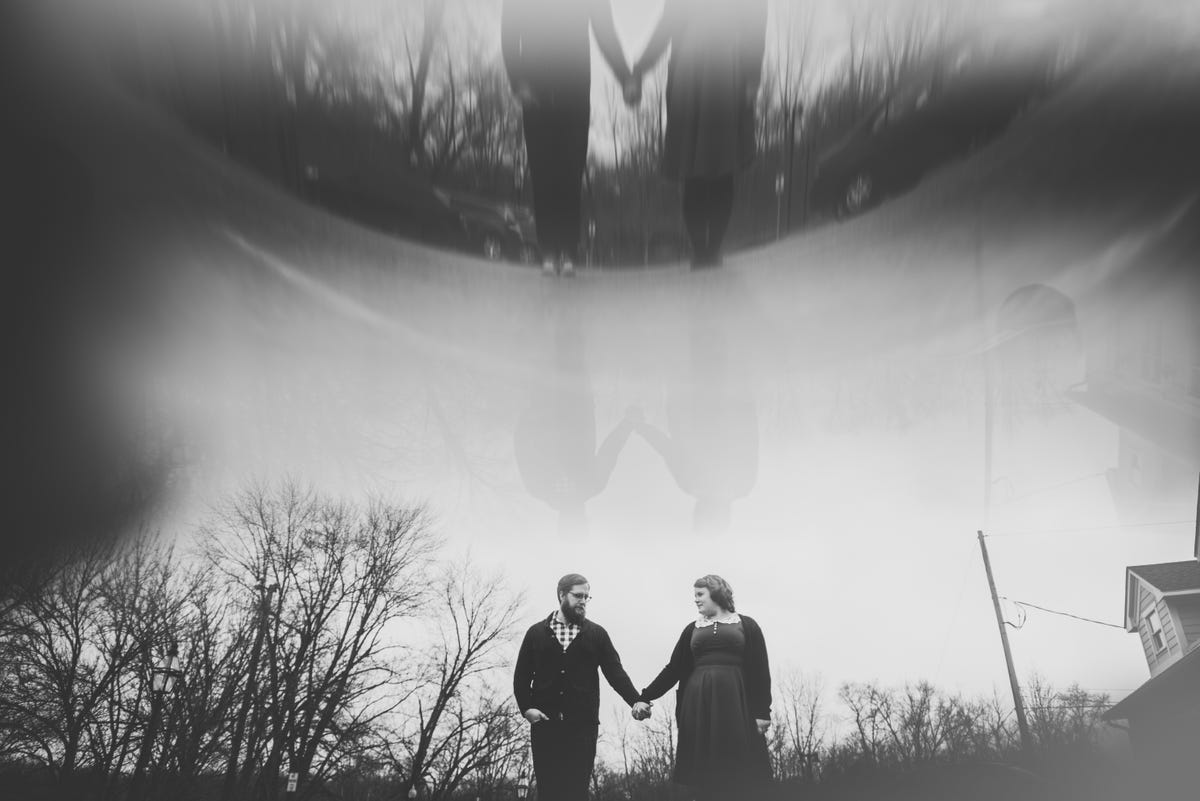
Depending on how you position the prism, some of the effects you may see include rainbows across the image or even curves.


Sam Hurd
Locations
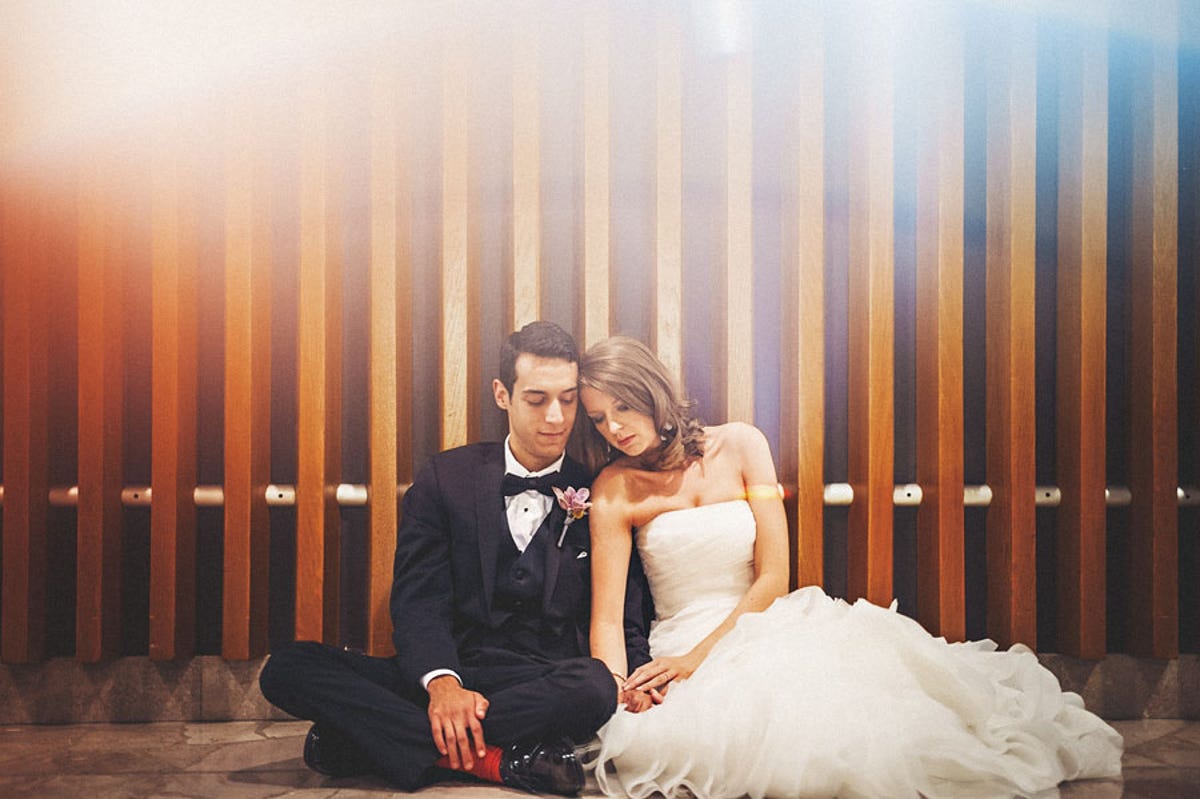
When you first start playing around with a prism, try shooting outdoors or in a location with lots of light. Some places to experiment include parks with tall trees that diffuse the direct sunlight; city centres with buildings; or place your subjects against structures that have a distinct pattern like in the image below.


Sam Hurd
Once you have more of an idea of how your particular prism refracts light, try shooting indoors.
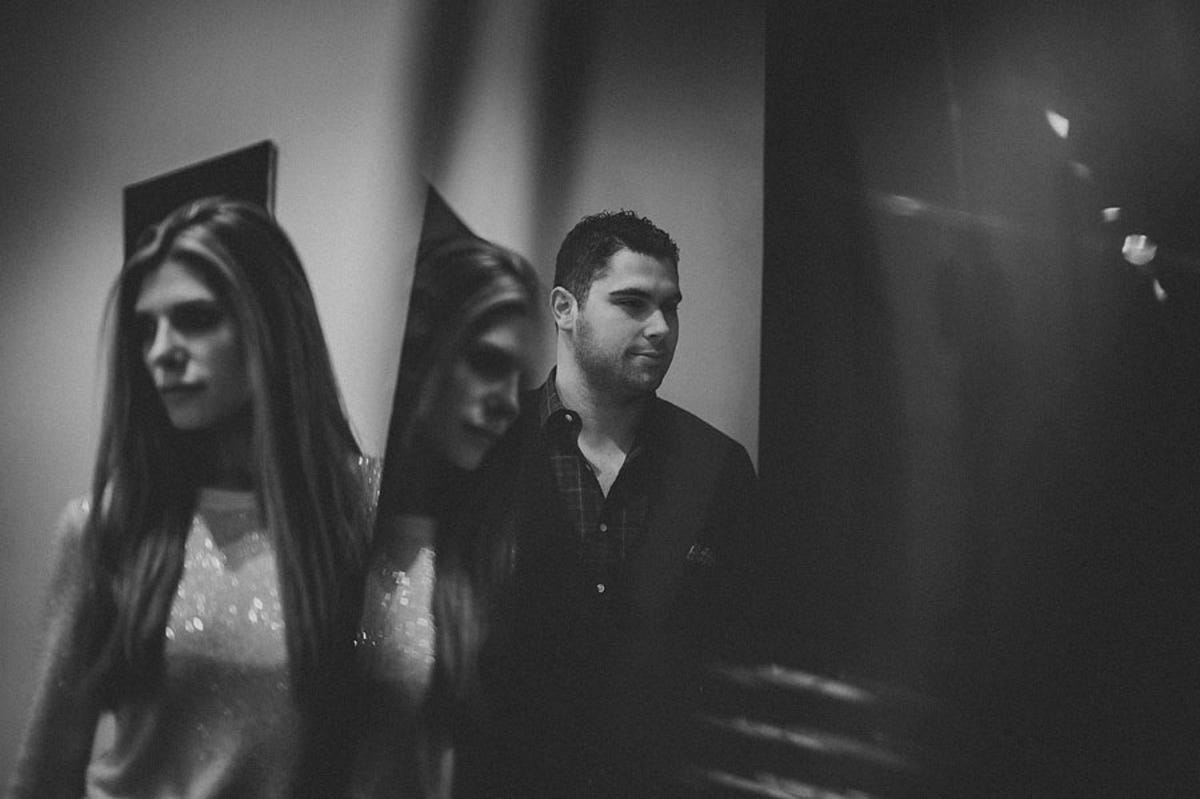
All these locations will give you plenty to work with when trying to reflect elements of the scene, helping to achieve a mirror image effect like in the image below.


Sam Hurd
Experiment with different-sized prisms. You may find the first one you try doesn’t give the best results. Hurd also recommends having the prism with you at all times so you can use it when the situation arises.
Apart from prisms, you can also try taking photos through any object that refracts or distorts light. Try a wine glass, cellophane or even cling film for different effects. Hurd also has another technique, called “lens chimping”, where he uses a convex lens element held in front of the camera.


