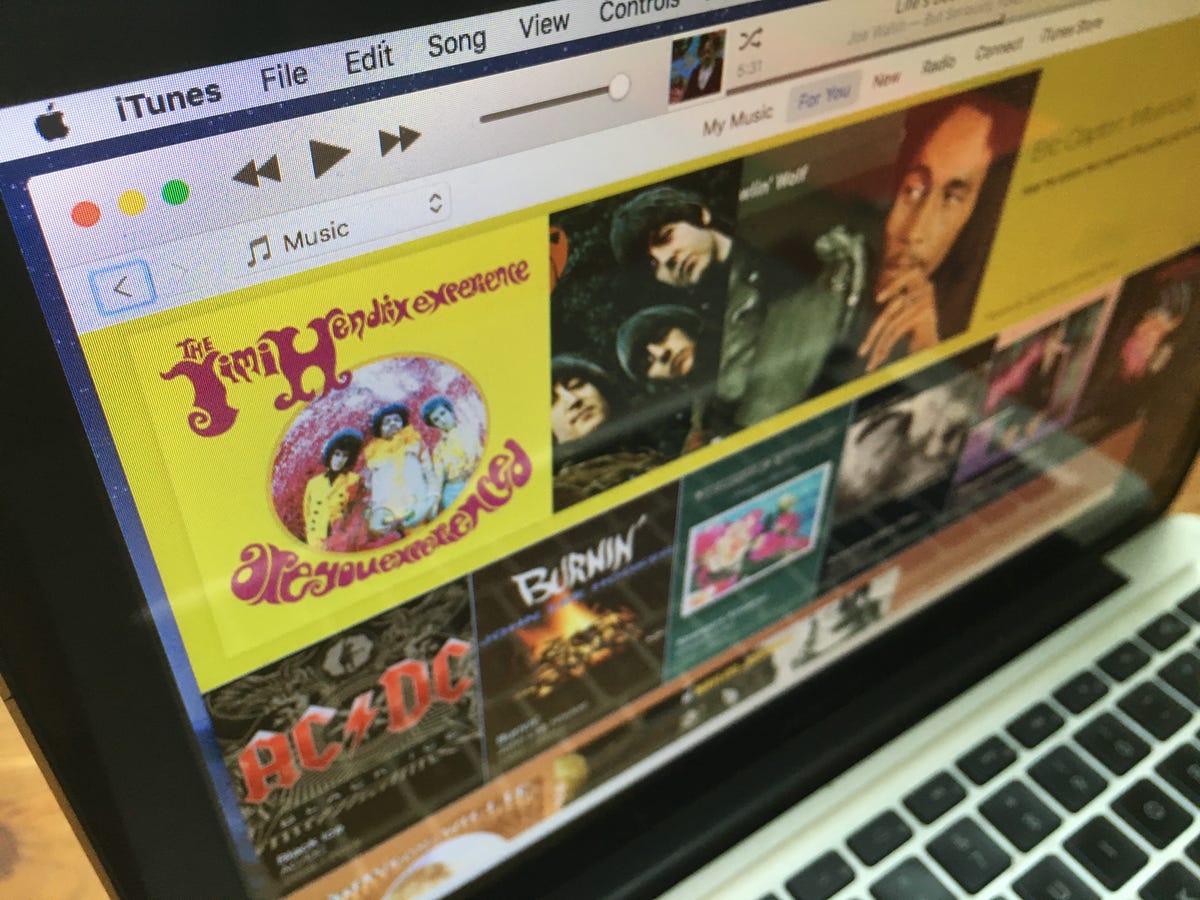
iTunes 12.4 introduced a number of design tweaks that may have meant the removal of a few buttons you relied on to navigate Apple’s music-movies-and-more app. With a few keyboard shortcuts in your arsenal, however, you can become an easy and efficient iTunes navigator.
You may already use some of these shortcuts and you probably won’t remember all of them, but hopefully you’ll find a handful of the below 15 keyboard shortcuts useful.
I use a Mac, so I have listed shortcut combinations for a Mac keyboard, but an equivalent Windows shortcut exists for most if you substitute the Command key for the Ctrl key. I note where a Windows shortcut does not exist or is drastically different from the Mac shortcut.

Matt Elliott/CNET
Playback controls
1. Spacebar to play/pause
No need to reach for the touchpad or mouse to pause or play the current song. Just hit the spacebar to pause a song and hit it again to resume playing.
2. A song so nice…
If you want to play the current song from the beginning, hit Return.
3. Skip to next track
To skip to the next track in your library or playlist, hit the right-arrow key. To skip to the previous track, hit the left-arrow.
Similarly, you can use Option-right arrow to jump to the first track of the next album in your library. Option-left arrow, however, acts just like Command-left arrow and moves you to the previous track.
4. Show song that’s playing
If you have a large music library, you likely peruse its contents while listening to a song and can lose your place. Whether you using the Artists, Albums, Songs or Genres view, you can return to the place in your library that shows the currently song playing by hitting Command-L.
5. Show Up Next panel
When you get curious about what songs you have queued up to play next, hit Command-Option-U to show the Up Next panel.
6. Full stop
While hitting the spacebar pauses the current track, using Command-[period] will stop the current track, which clears the status panel at the top of iTunes.
Playlists
1. Create a playlist
Hit Command-N to create a new playlist. The playlist gets added to the sidebar with the text highlighted so you can quickly give it a name.
If you have songs selected for a playlist, you can create a playlist starting with those songs by hitting Command-Shift-N.
To create a smart playlist that will select songs based on criteria you set, hit Command-Option-N.
2. Delete a playlist
With a playlist highlighted in the sidebar, you can just hit Delete to remove it. If you would like to kill a playlist without being asked for confirmation, hit Command-Delete.
And to delete a playlist and remove its songs from your library, hit Option-Delete.
Navigating iTunes
1. See your various types of content
iTunes has long been about more than just music. To jump to your various collections of various types of content, use these shortcuts:
- Command-1 — Music
- Command-2 — Movies
- Command-3 — TV Shows
- Command-4 — Podcasts
- Command-5 — iTunes U
- Command-6 — Audiobooks
- Command-7 — Apps
- Command-8 — Tones
- Command-9 — Internet Radio
2. Show Column Browser
iTunes has a useful panel called the Column Browser when you are using the Songs view of My Music that offers quick navigation by Genres, Artists and Albums. Hit Command-B to show and hide the Column Browser.
3. Show Status bar
The Status bar sits at the bottom edge of iTunes and shows the number of items, total runtime and size of the collection of songs you are currently viewing. Hit Command-/ to show and hide the Status bar.
4. Show Sidebar
The Sidebar sits along the left edge of iTunes and primarily displays your playlists. Hit Command-Option-S to show and hide the Sidebar.
5. Show Visualizer
Want to set up a playlist for a party and then hide it behind some trippy visuals? If so, hit Command-T to start up the iTunes Visualizer.
6. Get Info
If you want to tweak the name of a song, album or artist for a song or change its genre to better suit your music library organization, hit Command-I to show the Get Info window. You can also add album art and lyrics.
7. Get small
Hit Command-Shift-M to change the big iTunes window into the compact Mini Player, a great feature when you are using other apps on your computer but want to keep an eye on the song titles as they go by.
8. Minimize, hide, quit
Hit Command-M to minimize iTunes, which removes it from your desktop but keeps an icon on the right side of the Dock.
Hit Command-H to hide iTunes, which removes it from your desktop and keeps its icon out of the right side of the Dock.
Hit Command-Option-H to hide all windows except iTunes.
Hit Command-Q to quit iTunes.


